Generative Design and AI: The Future of 3D Modeling Software
Introduction
Generative design and AI are changing how people approach 3D modeling. Instead of manually pushing and pulling vertices, you can define goals and let the software explore thousands of possible solutions. If you’ve been looking into ai 3d design tools, you know the buzz is real, but sorting through the hype to find what actually works takes time. I’ve tested several of these tools over the past few years, from Autodesk’s generative studies to newer text-to-3D platforms. The technology is genuinely useful, especially for makers and Small Businesses who need optimized parts without a full engineering team. This article breaks down what generative design and AI tools actually do, how to fit them into your workflow, and which ones are worth your attention. No fluff, just practical experience and honest tradeoffs.
What Is Generative Design and How Does AI Fit In?
Generative design is a process where you feed a computer model your design constraints—things like maximum weight, minimum strength, material type, and connection points—and the software iterates through countless configurations to produce optimized geometries. The algorithm works like a digital materials scientist, running simulations and refining shapes to meet your goals. What makes it different from parametric modeling is that you don’t directly control every face and edge. Instead, you set the rules and let the system explore.. For more on this, see our guide on Cloud-Based 3D Design: Best Tools for Remote Collaboration.
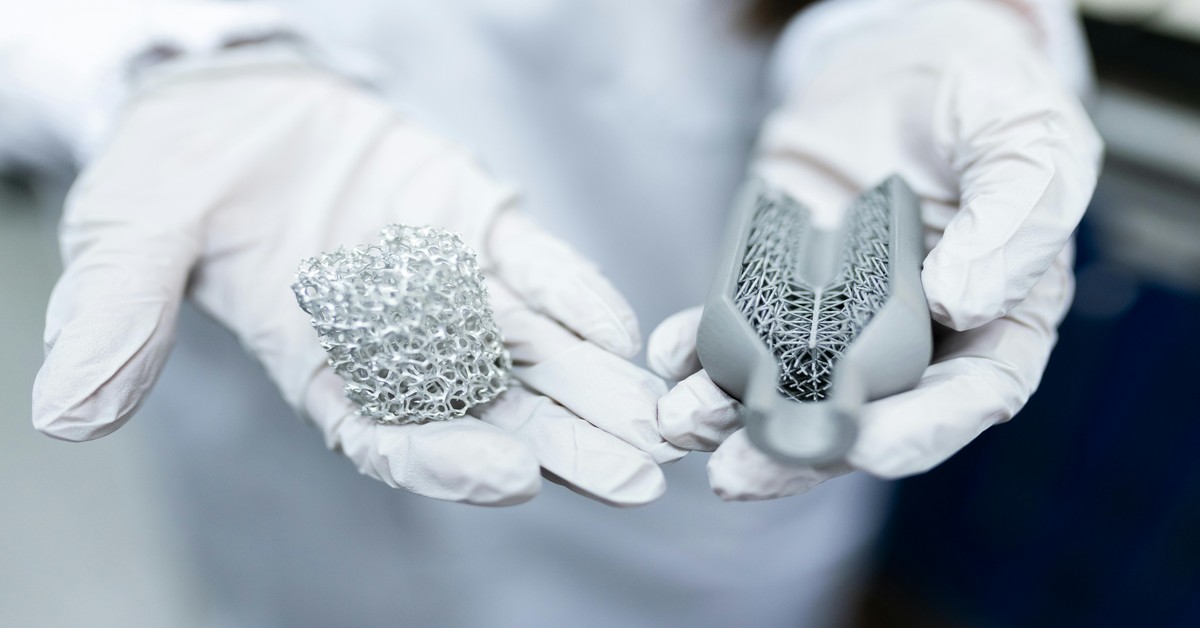
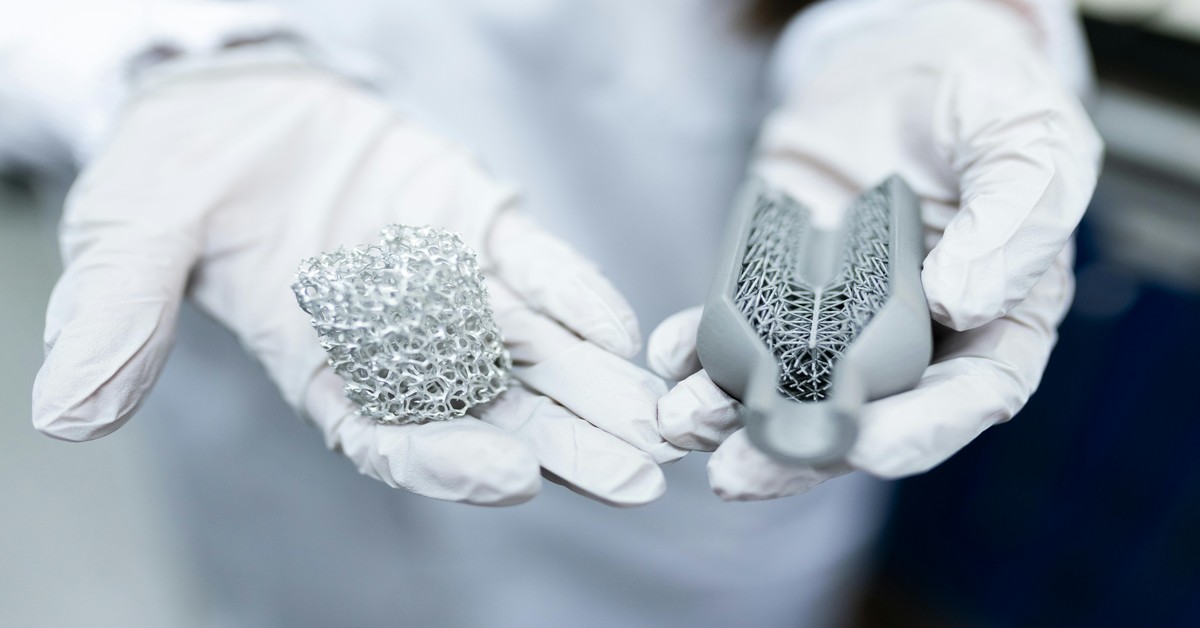
AI, specifically machine learning, supercharges this process. Modern tools learn from past design studies. If you run multiple generative passes for different parts, the software starts predicting which shapes will work best and offers them as starting points. It also handles pattern recognition that would be tedious to code manually. This combination means you get parts that look organic—lattice structures, curved ribs, weight-saving holes—that you’d never sketch by hand.
Think of a bracket that needs to hold 50 pounds. A traditional CAD approach starts with a rectangular block. Generative design might return a shape that looks like a branched tree or a honeycomb. It’s not about aesthetics. It’s about using only as much material as necessary. That’s the core value. For those setting up a first generative design station, a capable laptop with a dedicated GPU can handle most cloud-based studies, and laptops with dedicated GPUs are worth considering for local preprocessing.
Top AI 3D Design Tools for Makers and Professionals
Here’s a curated list of the most practical ai 3d design tools I’ve worked with. Each has a different strength, so consider your specific needs before choosing.
- Autodesk Fusion 360 (Generative Design Extension) – The most accessible entry point for makers. It offers cloud-based generative studies, integrates directly with your CAD workflow, and exports STL files. The learning curve is moderate. Best for: mechanical parts like brackets, mounts, and drone frames.
- nTopology – If you need fine control over lattice structures and complex infill, nTop is the standard. It’s more expensive and has a steeper learning curve, but the output quality is unmatched. Best for: aerospace or medical implants where you need explicit control over porosity and stiffness.
- Siemens NX (Generative Design) – Enterprise-grade. Powerful but expensive. Its AI-driven topology optimization can handle massive assemblies. Best for: automotive or industrial applications. Not recommended for hobbyists.
- Kaedim – A newer tool that converts 2D images into 3D models using AI. It’s fast and surprisingly accurate for concept work. Best for: game assets, concept prototypes, and organic shapes.
- 3DFY.ai / 3D AI Studio – Text-to-3D generators that let you type “metal bracket with three mounting holes” and get a starting mesh. The output still needs cleanup, but it’s incredible for rapid ideation. Best for: early-stage concept exploration.
- Grasshopper + ShapeDiver – Not strictly AI, but an algorithmic design environment that complements generative tools. You can script design rules and run them through ShapeDiver’s cloud to generate families of parts. Best for: parametric furniture or architectural components.
For most readers starting out, I’d recommend Fusion 360’s generative extension. It’s affordable, well-documented, and integrates directly with your 3D printing workflow. If you’re a professional needing extreme optimization, nTop is worth the investment. Travelers who need to work on the go may want a portable workstation laptop to run these tools during field studies.
How to Get Started with Generative Design: A Practical Workflow
Running your first generative design project doesn’t need to be intimidating. Here’s a six-step workflow I use for small bracket or mount projects.
- Define your design problem and constraints. Write down the load points, maximum weight, material (e.g., PLA, aluminum, nylon), and any connection points (holes for screws). The more precise, the better the output.
- Choose the right tool. If you’re optimizing a simple bracket, Fusion 360’s generative design is perfect. For complex lattice structures, consider nTop.
- Prepare your CAD model. Start with a simple solid block that represents the “keep” and “obstacle” zones. Keep geometry clean—no unnecessary fillets or internal cavities.
- Run the generative study. Set your objectives: minimize mass, maximize stiffness, or a balance. Choose a material profile. The software will generate multiple solutions. Let it run overnight if needed.
- Analyze and select the best result. Look at the simulation results—von Mises stress, displacement, mass saved. Don’t just pick the lightest one; choose one that stays within your safety factor.
- Export and prepare for manufacturing. Clean up the mesh (repair holes, simplify geometry if needed). Convert to STL for 3D printing or STEP for CNC. Add supports for overhangs if printing. A simple set of mesh repair tools can help clean up complex geometries before slicing.
A key tip: start with something simple, like a bracket that holds a spool holder. Once you understand the workflow, you can scale to complex parts. The tool does the heavy lifting, but your input on constraints matters most.

Common Mistakes to Avoid When Using AI Design Tools
After a few false starts, I’ve hit most of these pitfalls. Here’s what to watch for.
- Over-constraining the design. If you add too many “keep” zones (areas the algorithm can’t touch), you starve the AI. It can’t find the best solution. Give it room to explore.
- Ignoring manufacturability. Generative designs often produce organic shapes that need extensive supports for 3D printing. Always review the orientation. Some tools include a “printability check” feature—use it.
- Using the wrong material profile. Outputs designed for titanium won’t translate directly to PLA. Make sure the material database matches your actual filament or substrate.
- Expecting magic. Garbage in, garbage out. If your constraints are vague or your starting geometry is messy, the results will be unusable. Clean inputs lead to good outputs.
- Not understanding the tradeoff between simulation accuracy and time. Higher mesh resolution gives better results but takes longer. For early iterations, use coarse mesh. Only refine for final validation.
Generative Design vs. Traditional CAD: When to Use Which?
Here’s a practical comparison based on real usage.
Design Intent: Generative is for performance optimization (weight, strength). Traditional CAD is for form, aesthetics, and assemblies.
Speed: Generative can take hours to compute multiple solutions. Traditional CAD lets you model instantly but with manual effort.
Control: You have precise control over every face in CAD. Generative gives you high-level control through constraints.
Optimized geometry: Generative produces organic, biomimetic shapes. CAD produces traditional prismatic shapes.
Learning curve: CAD has a steep initial curve for modeling itself. Generative has a moderate curve for setting up studies but less manual work.
Output predictability: You know exactly what you’ll get in CAD. Generative outputs can vary between runs depending on random seed.
My rule of thumb: use generative design when you care about performance—weight savings, stiffness, material efficiency. Use traditional CAD when the part needs to fit with others, have a specific look, or be designed for assembly. For many projects, I start with generative to find the optimal shape, then export the mesh and refine it in traditional CAD.. For more on this, see our guide on How to Fix Broken STL Files: Best STL Repair Software.
Real-World Applications: Where Generative AI Shines
I’ve seen generative design save significant time and material in several real projects. Here are examples that illustrate its value.
- Drone arm optimization. A custom quadcopter arm needed to be lightweight but rigid. Using Fusion 360’s generative design, the result was 40% lighter than a solid aluminum arm yet passed FEA for 2 kg thrust. Printed in carbon-fiber nylon, it survived multiple crashes.
- Heat sink design. For an electronics enclosure, generative design produced a lattice structure that increased surface area by 300% compared to a flat fin design. Thermal simulation showed a 15°C drop in junction temperature.
- Custom prosthetic socket. An open-source project reduced material use by 25% while maintaining fit comfort. The AI generated variable thickness zones based on pressure data from a scan.
- Bicycle frame lug. A carbon-fiber lug connecting tubes weighed 18% less than a machined aluminum version but was stiffer. The organic shape also reduced stress concentrations at joints.
File compatibility matters here. Most generative tools export STL for 3D printing or STEP for CNC. Check that your slicer or CAM software can handle complex meshes without errors.
Hardware Requirements: Can Your PC Handle AI Design?
Generative design is computationally heavy. Here’s what you need to know about hardware.
Minimum for local running (e.g., nTopology): 16GB RAM, a dedicated GPU with at least 4GB VRAM (NVIDIA GTX 1060 or better), a modern multi-core CPU like an Intel i7 or AMD Ryzen 7. This will handle small to medium parts (less than 200,000 elements).
Recommended for serious work: 32GB RAM, GPU with 8GB VRAM (RTX 3070 or higher), fast NVMe SSD, and a high-end CPU. Fusion 360’s cloud generative study offloads the computation to Autodesk servers, so your local machine only needs to handle the CAD cleanup. That’s a major advantage for most makers.
Cloud-based tools: Fusion 360 and nTop’s cloud options mean you can run studies on a modest laptop. The heavy lifting happens on remote servers. The biggest bottleneck becomes your internet speed and the file transfer time.
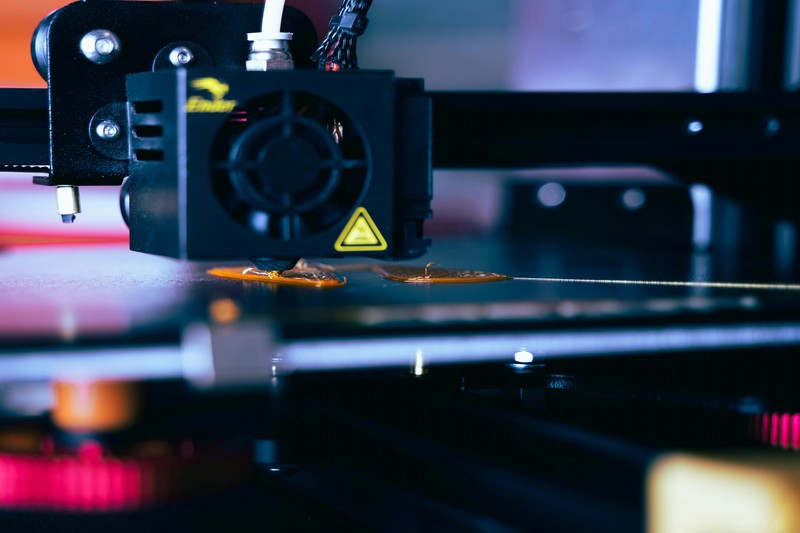
If you’re printing the final parts, you’ll need a reliable FDM printer for filament-based materials or a resin printer for fine details. For carbon-fiber nylon, a printer with an all-metal hotend and an enclosure is recommended.
How to Choose the Right AI 3D Design Tool for Your Needs
With so many options, picking the right tool depends on your budget, skill level, and end goal. Here’s a quick decision guide.
- Budget: Free options include Fusion 360’s generative extension (limited free license for hobbyists) and Grasshopper (free with Rhino). Paid tools like nTopology and Siemens NX cost hundreds to thousands monthly.
- Skill level: Beginners: start with Fusion 360. Intermediate: Grasshopper or Kaedim. Advanced: nTop for explicit lattice control.
- Industry focus: Mechanical parts: Fusion 360 or nTop. Architectural: Grasshopper. Artistic/3D printing: Kaedim or 3D AI Studio.
- Output file types: Most tools export STL, STEP, and OBJ. Ensure compatibility with your slicer or CAM software.
- Cloud vs. local: Cloud tools require internet but spare your hardware. Local tools need a powerful PC but give you control.
Ask yourself: Are you a hobbyist making one-off parts? Start with Fusion 360. Do you need organic, artistic shapes? Try AI-driven sculpting tools like Kaedim. Building a business that sells optimized components? Invest in nTop or Siemens NX. The right tool matches your workflow, not the hype.
The Limitations of AI in 3D Modeling You Should Know
No tool is perfect. Here are realistic limitations to keep in mind.
- Generative designs can be visually complex or “ugly.” They optimize for performance, not appearance. If you need a sleek consumer product, you’ll still need manual design work.
- AI struggles with multi-body assemblies. Generative design works best on single parts. For complex interactions (hinges, sliding joints), it often fails or produces impractical shapes.
- High computational cost. Running a detailed generative study can take hours, even with cloud tools. The simulation accuracy vs. time tradeoff is real.
- Less intuitive for aesthetic design. If you want to design a chair that looks elegant, AI won’t help much. Use traditional CAD or sculpting.
- Still requires validation. The tool suggests solutions, but you need to run FEA or physical tests. Human oversight isn’t optional.
These aren’t dealbreakers. They’re tradeoffs. Know them, and you’ll avoid frustration.
What the Future Holds: AI, Machine Learning, and 3D Modeling Trends
Looking ahead a couple of years, several trends are real and relevant.
- Text-to-3D generation. Tools like Point-E and DreamFusion (and the newer Kaedim) will get better at producing usable meshes from simple text prompts. This will be massive for rapid prototyping.
- Real-time generative design in VR. Imagine sculpting constraints with hand gestures and watching the AI optimize instantly. This is already in beta with some engineering suites.
- AI-driven modification suggestions. Some tools are integrating agents that analyze your model and suggest changes to reduce material or improve strength, learning from your design history.
- Multi-material printing integration. Generative design will soon connect directly to material databases, suggesting multi-material prints (rigid + flexible) to optimize weight and compliance.
These developments will lower the barrier for new makers. You won’t need an engineering degree to produce optimized parts. But the fundamentals—understanding constraints, testing results—will remain essential.
Final Thoughts: Is Generative Design Right for You?
Generative design is a powerful addition to any maker’s toolkit, but it’s not a replacement for understanding basic mechanics. For performance-critical parts—weight reduction, stiffness, material savings—it’s a game-changer. For aesthetic projects or pure artistic work, traditional CAD still wins. The best approach is hybrid: use generative optimization where it matters, then refine by hand. Start with a free trial of Fusion 360’s generative extension. Work through a small project—a bracket, a mount, a simple support. See the process firsthand. The hardest part is defining the problem clearly. Once you do, the AI handles the heavy lifting.
Start designing your dream setup today—experiment with generative design and see where AI takes your next project.
My honest take: don’t chase features you won’t use. The $3000 printer won’t make you a better designer, and the pro software won’t help if you never open it. Match the tool to your actual projects, not your aspirations. That’s how you actually finish prints instead of just reading about them.. For more on this, see our guide on Tinkercad Tutorial: Creating Your First 3D Model in Minutes.