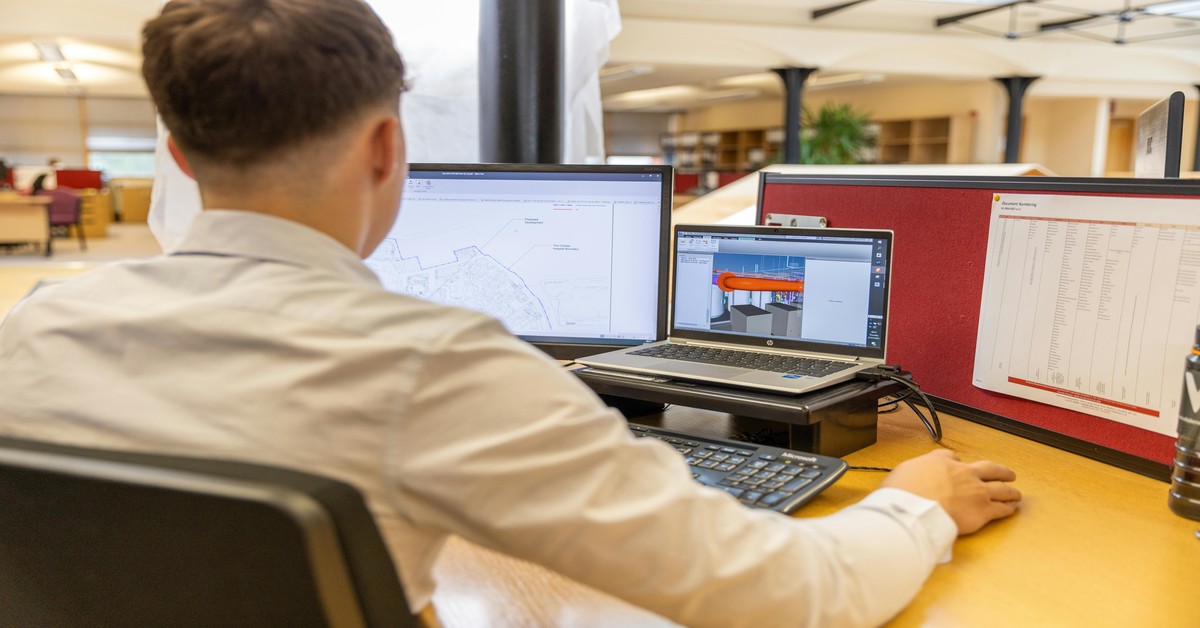
Best Premium CAD Software for Mechanical 3D Design
Introduction
If you’re ready to move past printing decorative trinkets and start building functional mechanical parts, the right tools matter. Free and entry-level CAD software can get you going, but once you need precision, parametric control, or real-world load simulation, premium options start to make sense. This guide covers the best CAD software for 3D printing for mechanical engineers, product designers, and advanced makers who need more than basic modeling. We’re looking at paid, professional-grade programs that handle complex assemblies, export clean STL and STEP files, and offer parametric history so you can adjust designs without starting over. Based on hands-on testing and community feedback, we’ll walk through what each option does well—and where they fall short. If you’re designing parts that need to fit, move, or hold up under stress, this comparison should help.
When I first started researching this, I made a lot of assumptions that turned out wrong.. For more on this, see our guide on The Best Laptop for 3D Modeling: Hardware for Slicing and Design.
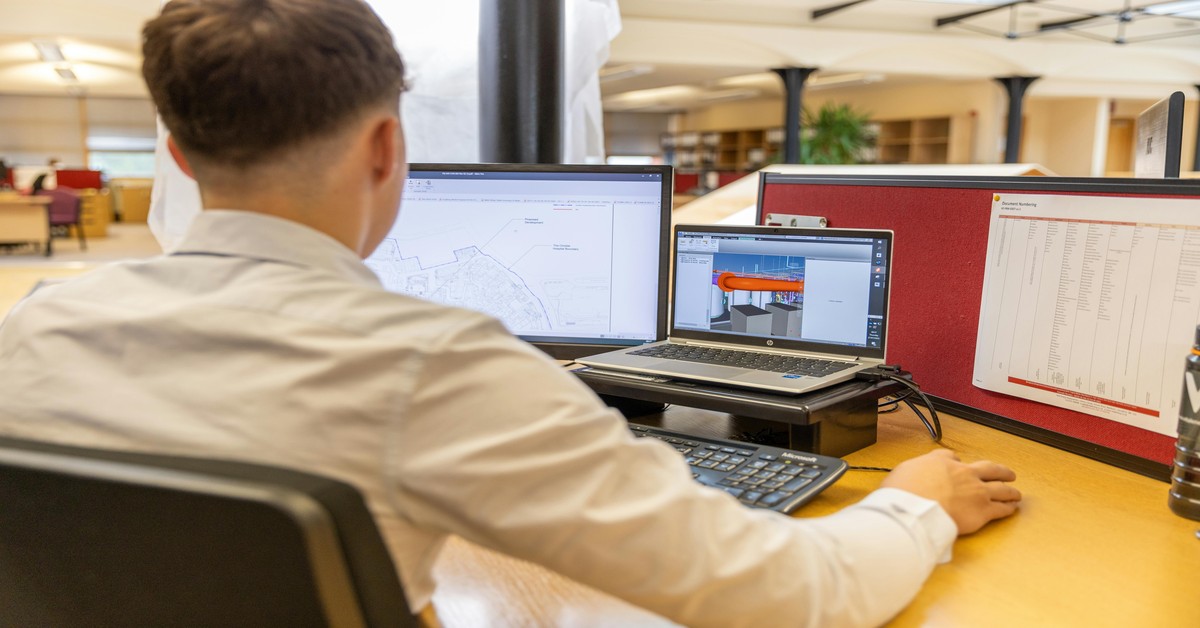
Why Premium CAD Software Matters for Mechanical 3D Design
There’s a big difference between software that works for a vase and software that works for a gearbox. Free tools like TinkerCAD or basic versions of SketchUp often lack the precision, constraints, and parametric engines needed for mechanical work. When you’re making a part that has to fit into an assembly, handle a specific torque, or survive some heat, guesswork isn’t enough. Premium CAD software delivers accurate dimensioning, parametric history—so changing a hole diameter updates the whole model—and simulation tools to test stress points before printing. The catch is cost. Premium packages range from hundreds to thousands of dollars a year. But that money buys efficiency: less time fixing errors, fewer failed prints, and less frustration when you realize a simple fillet would’ve solved a fit issue. For anyone making a living from 3D printing or prototyping for clients, this is more of a productivity multiplier than an expense. Hobbyist tools can start things off, but they’ll hold you back once your project needs more than a single static shape.
How We Selected and Tested These Programs
To keep this list practical, we stuck to a few hard criteria. Every program had to be premium—paid, though we note free tiers for students or startups. Each had to handle mechanical or hard-surface modeling well; organic sculpting was a bonus but not the main focus. Parametric modeling was non-negotiable; we needed the ability to edit features later without breaking the model. We also required clean export to both STL (for slicing) and STEP (for professional manufacturing). Simulation capabilities—FEA, thermal, or motion analysis—were a strong plus. Each piece of software was tested on a standard desktop workstation (Windows 10/11, 32GB RAM, 6-core CPU) paired with a Prusa MK4 and a Bambu Lab X1C. We looked at how the software handled common tasks: designing a bracket, a threaded part, and a multi-part assembly with moving joints. We also considered community strength, tutorial availability, and slicer integration. No software made the list without passing these practical tests—no marketing fluff.
I’ve used both approaches extensively, and honestly, it depends entirely on what you’re trying to accomplish.
1. Autodesk Fusion 360 – The Best All-Rounder for Makers and Engineers
Fusion 360 is the Swiss Army knife of the mechanical CAD world. It combines parametric modeling with direct modeling, freeform sculpting, and built-in CAM for CNC work. The timeline feature lets you go back to any point in your design history and tweak parameters—invaluable when iterating on a part based on test prints. Generative design stands out: set load points and materials, and the software optimizes geometry automatically. For 3D printing, that means lighter, stronger parts using less filament. Cloud collaboration is solid; you can share designs with team members or clients without emailing large files. The main weakness is the model complexity cap—the free startup license limits you to 10 active documents, though the paid subscription removes this. It also needs a pretty constant internet connection for cloud features, though you can work offline. Pricing is subscription-based, around $60/month or $545/year for the full version. The free startup license for hobbyists and small businesses is a generous entry point.
Best For: Prototyping, iterative design, small to medium mechanical assemblies, solopreneurs, and small teams. It’s a great way to learn parametric CAD for 3D printing because the interface is intuitive and tutorials are plentiful.
If you’re just starting with a desktop printer, pairing Fusion 360 with a reliable workhorse like the Prusa MK4 is a proven combo for functional prints. If you’re setting up a dedicated workspace, a sturdy 3D printer workstation desk can help keep everything organized and vibration-free during long prints.
2. SolidWorks – The Industry Standard for Professional Mechanical Engineering
SolidWorks is the benchmark. Walk into any mechanical engineering firm, and odds are they’re using it. It offers deep parametric modeling, robust large assembly management (handling hundreds or thousands of parts), and a full suite of simulation tools including static FEA, fatigue analysis, and motion studies. Drawing generation is second to none—if you need accurate 2D manufacturing drawings, SolidWorks is the gold standard. Its mate system makes defining relationships between parts intuitive, and the Design Library lets you reuse standard components (fasteners, gears, etc.) quickly. The downsides are real: a perpetual license costs around $4,000 to $8,000, plus annual maintenance fees (usually 20% of license cost). It’s also a resource hog—expect to need a powerful workstation with at least 16GB RAM and a dedicated GPU. The learning curve is steeper than Fusion 360; most professionals spend months becoming proficient. File sizes can balloon with complex assemblies, making cloud collaboration a challenge without dedicated PDM software.
Best For: Complex assemblies, manufacturing-ready designs, large engineering teams, and industries where precision and standards compliance are critical.
To run SolidWorks smoothly, a workstation with an Intel i7 or Xeon, 32GB RAM, and a Quadro GPU is a sensible investment. A good mechanical keyboard can also make long design sessions more comfortable and precise.
3. Rhino 7 (with Grasshopper) – The Precision Surface Modeler
Rhino 7 takes a different approach. It’s NURBS-based, which means it excels at creating mathematically precise curves and surfaces. Where SolidWorks and Fusion are solid-body-centric, Rhino treats geometry as a collection of surfaces—this gives you incredible control over complex, organic shapes that are still dimensionally accurate. Grasshopper, the visual scripting plugin, allows for algorithmic parametric design—great for generating complex lattices or patterns that would be tedious to model manually. Rhino’s one-time purchase model (about $995 for a commercial license) is a breath of fresh air compared to subscriptions. The downside: it’s not inherently a solid modeler, so creating parametric histories for features like holes or fillets requires more manual work. Simulation capabilities are limited compared to the other two. For 3D printing, Rhino shines when you need high-precision control over mesh export—you can adjust polygon densities and export directly to STL with excellent results.. For more on this, see our guide on Best 3D Modeling Software for Beginners (Free & Paid).
Best For: Industrial design, architectural details, jewelry, objects with complex curves, and projects needing fine mesh export control. If your mechanical part has organic surfaces or you’re iterating on aesthetic forms, Rhino is a strong choice.
For users who want to render models before printing, a plugin like V-Ray for Rhino can be worthwhile. A high-resolution resin printer will capture the fine details Rhino can produce, but users often find a resin printer washing and curing station saves a lot of cleanup time after printing.
Side-by-Side Comparison: Fusion 360 vs. SolidWorks vs. Rhino
| Feature | Fusion 360 | SolidWorks | Rhino 7 |
|---|---|---|---|
| Price (approx.) | $60/month or $545/year (free startup license) | $4,000–$8,000 perpetual + 20%/year maintenance | $995 one-time purchase (commercial) |
| Learning Curve | Moderate – excellent tutorials | Steep – professional training recommended | Moderate – Grasshopper adds complexity |
| Parametric Modeling | Excellent – timeline history | Excellent – feature-based tree | Good – manual via Grasshopper |
| Assembly Handling | Good for up to ~500 components | Excellent for large assemblies | Fair – less structured |
| Simulation (FEA) | Included (static, thermal, modal) | Included (quasi-static, fatigue, motion) | Limited (plugins required) |
| File Export (STL, STEP, IGES) | Excellent | Excellent | Excellent (very flexible mesh) |
| Community Support | Large, active forums | Huge, professional network | Niche but dedicated |
| Best Use Case | Solo entrepreneurs, small teams, iterative prototyping | Complex assemblies, manufacturing, large teams | Complex surfaces, industrial design, detailed renders |
Choose Fusion 360 if: You’re a solo maker or small team, you need a balanced tool for both design and CAM, and you want a reasonable subscription price. Choose SolidWorks if: You’re in a professional engineering environment, your assemblies are large or need FEA, and budget is less of a concern. Choose Rhino if: Your work involves complex surfaces, precise curves, or you export to high-resolution resin printers frequently.
Honorable Mention: Onshape – The All-Cloud Contender
Onshape is worth a serious look if cloud-native collaboration is your priority. It runs entirely in the browser—no installation, no local files. This means you can work from any machine, and your team can view and edit the same model in real time. Its parametric history is clean and branch-based (like Git for CAD), making it easier to experiment without breaking the main design. Pricing is around $1,500/year for professional use, though a limited free plan exists for public designs. The downside: you need a stable internet connection; there’s no offline mode. Also, some users worry about data sovereignty when storing proprietary designs on a third-party server. For mechanical design, Onshape handles complex assemblies well, and its standard part library is robust. It’s a strong alternative to Fusion 360 if you’re part of a team that values version control and remote access above all else. The free plan is limited, but it’s enough to evaluate the workflow before committing.
What About Free and Freemium CAD Software?
Free tools have their place. TinkerCAD is fantastic for absolute beginners or quick mockups. FreeCAD is powerful but has a steep learning curve and a less polished interface. DesignSpark Mechanical is nice for basic surface modeling. So why aren’t they in this guide? For complex mechanical design, you’ll hit a wall fast. FreeCAD’s parametric engine can be unstable with large files. TinkerCAD lacks precision and constraints for moving parts. None of them offer simulation that’s reliable for real-world loads. If you’re designing simple brackets or enclosures, free software can save you money. But if you’re designing parts that need to fit a bearing or withstand a specific load, the time you’ll waste fighting free tools will exceed the cost of a premium license within a few projects. Start with free software to learn the basics, then upgrade when you feel the limitations. Premium tools pay for themselves in time and frustration saved.
Common Mistakes When Choosing CAD Software for 3D Printing
Ignoring export file formats. Not all software exports clean STEP files. If you’re sending parts to a machining service or collaborating with engineers who use different software, STEP or IGES is mandatory. Check this before buying. Overlooking simulation for functional parts. A bracket that looks right on screen can snap under load. Spending another $500 on a tool that does basic FEA is cheaper than printing five failed prototypes. Choosing based on price alone. A cheap subscription is worthless if it slows your workflow. Calculate the cost of your time—a $2,000 software that cuts design time by 30% pays for itself quickly. Not considering assembly complexity. Some software handles 50 parts easily but chokes at 500. Think about your future projects, not just your current one. Failing to check slicer compatibility. Some CAD programs export STL files that are watertight, but others produce meshes that slicers hate. Test a sample model before you commit. These mistakes are common, but easily avoided with a little forethought.
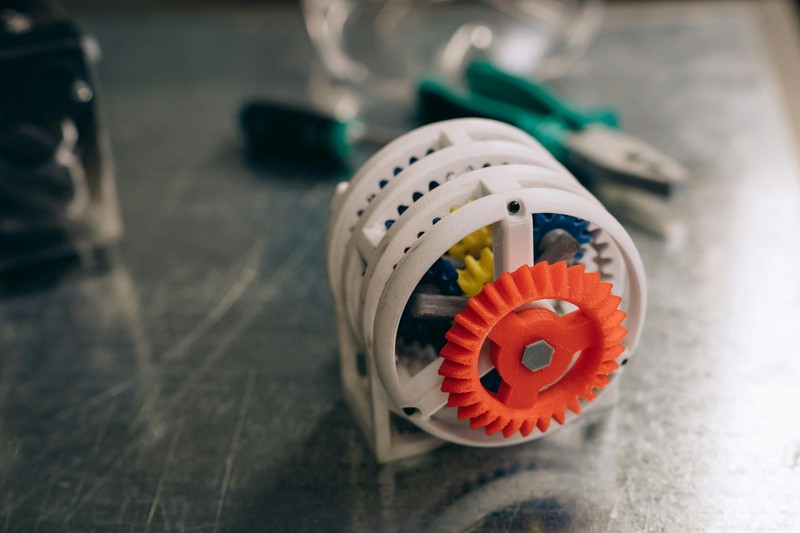
Optimizing Your Workflow from CAD to 3D Printer
Good CAD design directly translates to successful prints. Here are the practical workflows that make a difference. Always export your STL at high resolution—most slicers default to 0.01mm tolerance, but set your export to 0.001mm if the software allows. This prevents faceting artifacts on curved surfaces. When orienting models in your slicer, consider layer direction: parts stressed in tension should have layers oriented along the load path. Add fillets to internal corners—sharp 90° angles are stress concentrators and often print poorly, causing warping or delamination. For moving parts, design in a small clearance (0.2–0.3mm for filament printers, 0.1mm for resin) and test fit. Use a high-performance filament like nylon or PETG for functional parts; they offer better layer adhesion and impact resistance than PLA. Pairing a premium CAD tool with a quality printer makes a huge difference. For mechanical prints, PETG filament is a solid choice—it’s tough and prints reliably.
Final Verdict: Which Premium CAD Software Should You Buy?
After all the research and comparison, I’ve found that the simplest answer is usually the right one.
There’s no single best answer—it depends on your specific needs. For most advanced makers, small design shops, and solopreneurs, Fusion 360 offers the best balance of features, price, and learning resources. It’s the easiest to start using effectively and grows with you. If you’re in a larger engineering firm and need to manage complex assemblies with rigorous standards, SolidWorks is worth the investment for its assembly management, simulation depth, and industry-wide compatibility. If your designs lean toward complex surfaces, organic forms, or require high-resolution mesh control for resin printing, Rhino 7 is your best bet—its one-time purchase model is also a financial plus. Evaluate your budget, the complexity of your assemblies, the precision you need, and where you see your projects going in the next two years. Then take advantage of free trials: Fusion 360 offers a full-featured trial, SolidWorks has a 30-day evaluation, and Rhino 7 lets you use it for 90 days before purchasing. Use that time to test with your own projects—not sample files. That’s the only way to know for sure.
The 3D printing community is one of the best parts of this hobby. Get on Reddit, join a few Discords, find your local makerspace. When you hit a wall — and you will — someone has already solved it. I’ve learned more from strangers on the internet than from every manual I’ve ever read.. For more on this, see our guide on Best 3D Slicer Software: Cura vs PrusaSlicer vs Orca Slicer.