3d Printing for D&d Miniatures — Getting Started Guide
The world of Dungeons & Dragons is one of boundless imagination, epic quests, and unforgettable characters. For decades, players have relied on pre-made miniatures or simple tokens to represent their heroes, villains, and monstrous encounters. But what if you could bring virtually any creature or character to life with incredible detail, exactly how you envision them, right from your home? That’s where 3D printing comes in! This guide will walk you through everything you need to know to start 3D printing your own D&D miniatures, transforming your tabletop adventures with a personalized touch. Check out our best 3D printers guide.
Why Print Your Own Miniatures?
There are countless reasons why 3D printing your D&D miniatures is a critical tool for Dungeon Masters and players alike:
- Cost Savings: High-quality, officially licensed miniatures can be expensive, especially for larger monsters or specific character poses. 3D printing offers a significantly more economical way to build a vast collection, paying only for the resin or filament and the electricity.
- Unparalleled Customization: Want a barbarian with a specific axe and a unique shield? Or a dragon that perfectly matches your campaign’s lore? The possibilities are endless. Many artists create incredibly detailed and modular STLs (Standard Tessellation Language files) that allow for unique combinations.
- Vast Model Library: From popular monsters to obscure NPCs, the online community of 3D modelers has created an enormous database of printable D&D creatures and characters. You’re rarely limited to what’s available in stores.
- Immediate Gratification: Need a specific monster for tonight’s session? If you have the file, you can often print it in a few hours, ready for the tabletop.
Resin vs. FDM: Choosing Your Printer Type
The first major decision you’ll face is choosing between two primary types of 3D printers: Resin (SLA/DLP/LCD) and FDM (Fused Deposition Modeling).
Resin Printers (SLA/DLP/LCD)
Resin printers use a liquid photopolymer resin that is cured layer by layer by UV light. They are the go-to choice for miniature enthusiasts due to their exceptional detail and smooth surface finish.
- Pros: Incredible resolution, capable of capturing the finest details like scales, hair, and facial expressions; smooth, almost imperceptible layer lines; ideal for small, intricate models like D&D minis.
- Cons: Messier workflow involving liquid resin and isopropyl alcohol for cleaning; requires more post-processing (washing, curing in UV light); resin is more expensive than filament and has an odor; smaller build volumes typically; some health and safety considerations (gloves, ventilation).
Recommendation: For the highest quality miniatures, a resin printer like the Elegoo Mars series is highly recommended. They offer a great balance of detail, ease of use for beginners, and affordability.
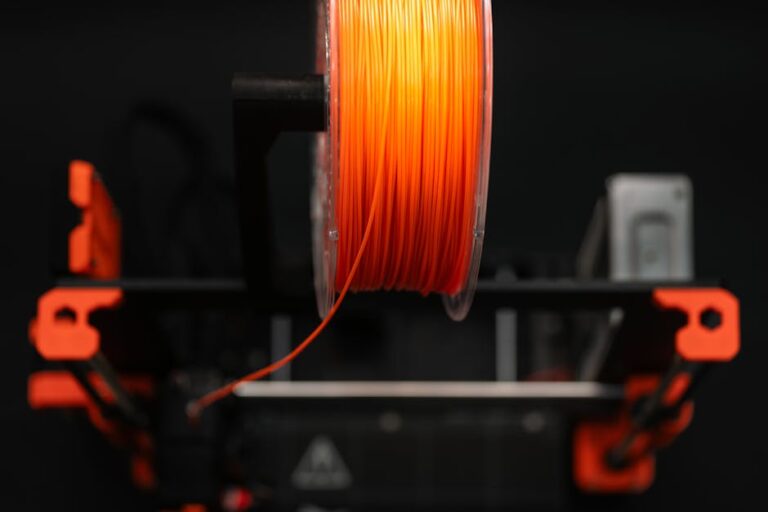
FDM Printers (Filament)
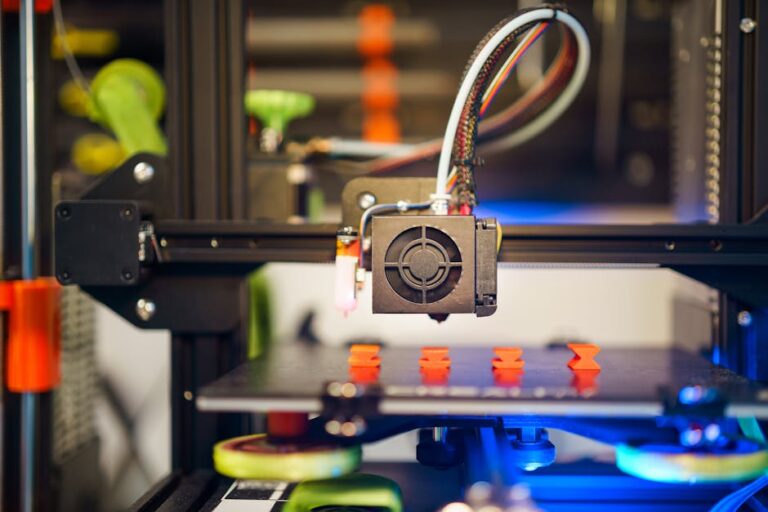
FDM printers work by melting a plastic filament and extruding it layer by layer to build an object. They are generally more versatile and have larger build volumes.
- Pros: Cleaner and less hazardous operation; larger build volume, suitable for terrain pieces and larger models; wider range of filament types; generally cheaper per print.
- Cons: Visible layer lines (though smaller nozzles and fine-tuning can reduce this); struggle with very fine details compared to resin; requires more dialing in for miniature settings to prevent stringing or blobs.
Recommendation: While not as detailed as resin, modern FDM printers can produce impressive minis with careful calibration. If you also want to print larger terrain or props, an FDM printer like the Bambu Lab A1 (or similar CoreXY/bed slinger models) is a fantastic, user-friendly option. For FDM, PLA filament is the most common and easiest to use for minis. Consider reliable brands like Overture PLA or Hatchbox PLA for consistent results.
Essential Software for Miniatures
Once you have your printer, you’ll need software to translate your digital models into printable instructions.
Slicer Software
A “slicer” takes your 3D model (usually an STL file) and slices it into hundreds or thousands of thin layers, creating a set of instructions (G-code) for your 3D printer. It also generates crucial support structures to prevent overhangs from collapsing during printing.
- For FDM: Popular choices include Ultimaker Cura (free and powerful), PrusaSlicer, and Simplify3D.
- For Resin: Chitubox (often bundled with Elegoo/Anycubic printers) and Lychee Slicer are industry standards, offering excellent support generation and exposure settings specific to resin.
Learning your slicer is crucial for successful miniature prints. Pay close attention to settings like layer height (smaller for more detail), infill (usually low for minis), and especially support placement and density.
Model Sources
Where do you find those awesome D&D models? The internet is your oyster!
- Free Repositories: Thingiverse, MyMiniFactory, and Cults3D host thousands of free community-made models. Search for “D&D” or specific monster names.
- Patreon Creators: Many talented artists create monthly collections of high-quality D&D miniatures, often for a small subscription fee. Examples include Artisan Guild, Loot Studios, and Lord of the Print.
- Commercial Stores: Websites like MyMiniFactory and Etsy also feature marketplaces where you can purchase individual STLs from independent creators.
Getting Your First Print Ready: A Step-by-Step
Let’s break down the basic workflow for getting a miniature from your screen to your tabletop.
- Find Your Model: Download an STL file from your chosen source.
- Prepare in Slicer:
- Orient the Model: For both FDM and resin, proper orientation is key. Angle your model to minimize large flat surfaces facing the build plate and reduce layer lines or suction forces. For resin, angling helps reduce layer lines and improve print quality.
- Add Supports: This is arguably the most critical step for miniatures. Supports prevent parts of your model from printing in mid-air. Use plenty of light supports for resin, and carefully placed supports for FDM. Practice and experimentation will teach you the best placement.
- Adjust Settings: Set a fine layer height (e.g., 0.02-0.05mm for resin, 0.08-0.12mm for FDM).
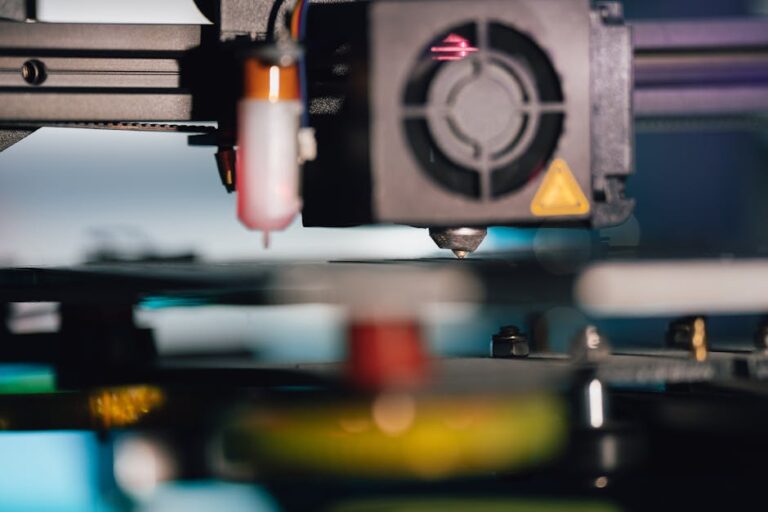
- Print! Transfer the G-code to your printer (via USB or Wi-Fi) and start the print. Monitor the first few layers carefully to ensure proper adhesion and avoid early failures.
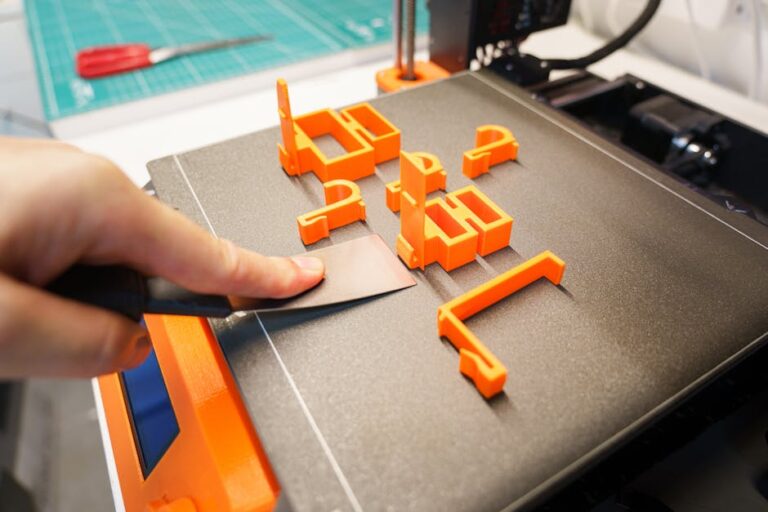
- Post-Processing:
- Resin: Carefully remove the print from the build plate. Wash it thoroughly in isopropyl alcohol (or a resin cleaner) to remove uncured resin. Then, cure it under UV light (a curing station or even direct sunlight works). Finally, carefully snip off the supports with flush cutters.
- FDM: Once the print is complete and cooled, gently remove it from the build plate. Snap or snip off the support structures. You can use sanding sticks or hobby knives to clean up any remaining nubs.
Painting and Finishing Touches
A 3D printed miniature truly comes to life with a good paint job. After post-processing, prime your miniature with a thin coat of primer (spray or brush-on) specifically designed for models. This creates a uniform surface for your paints to adhere to. Then, unleash your creativity with acrylic paints, washes, and drybrushing techniques. Finally, apply a matte varnish to protect your hard work and give the miniature a professional finish.
Maintenance and Troubleshooting Tips
Maintaining your printer and understanding common issues will save you headaches:
- Keep it Clean: Regularly clean your build plate/vat, especially for resin printers. Dust and resin residue can cause print failures.
- Level Your Bed: For FDM printers, a perfectly leveled print bed is essential for good first layer adhesion.
- FEP Film Care (Resin): Be gentle with your resin vat’s FEP film. Scratches or cloudy areas can lead to print failures.
- Common Mini Issues: Support failures are common for both types. Adjust support density and contact points. “Elephant’s foot” on resin prints can be mitigated by adjusting base exposure time. FDM stringing often means you need to tweak retraction settings.
Choosing Your First Printer
As discussed, the choice between resin and FDM largely depends on your priorities. If absolute detail and smooth finishes are paramount for your D&D minis, a resin printer is your best bet. If you want a more versatile machine for larger prints, terrain, and a less messy experience, a well-tuned FDM printer can certainly do the job. Consider your budget, available space, and your comfort level with post-processing when making your decision. For a deeper dive into choosing the right machine, check out our top recommended 3D printer picks.
starting on the journey of 3D printing D&D miniatures is incredibly rewarding. Not only will you save money and gain unparalleled customization options, but you’ll also develop a fascinating new hobby that enhances your tabletop gaming experience. Get ready to populate your campaigns with unique, custom-made characters and monsters!
Ready to start your miniature-making adventure? Visit 3dshopper.com for the best selection of 3D printers, filaments, resins, and accessories to bring your D&D worlds to life!
Ready to find your perfect 3D printer? Browse our complete guide to the best 3D printers — updated right now with expert picks at every budget.
Shop top-rated 3D printers on Amazon: Bambu Lab A1 | Creality Ender 3 | Prusa MK4