Why Is My 3d Print Failing? Common Problems and Fixes
There’s nothing quite like the excitement of starting a new 3D print, envisioning the final model, only to return later and find a tangled mess of spaghetti or a partially formed failure. It’s a rite of passage for every 3D printing enthusiast, from novice to seasoned maker. But don’t despair! Most 3D print failures stem from a handful of common issues that are surprisingly easy to diagnose and fix once you know what to look for. This guide will walk you through the most frequent culprits behind failed prints and equip you with the knowledge to troubleshoot like a pro, getting you back to successful creations. Check out our best 3D printers guide.
The Foundation: First Layer Adhesion & Calibration
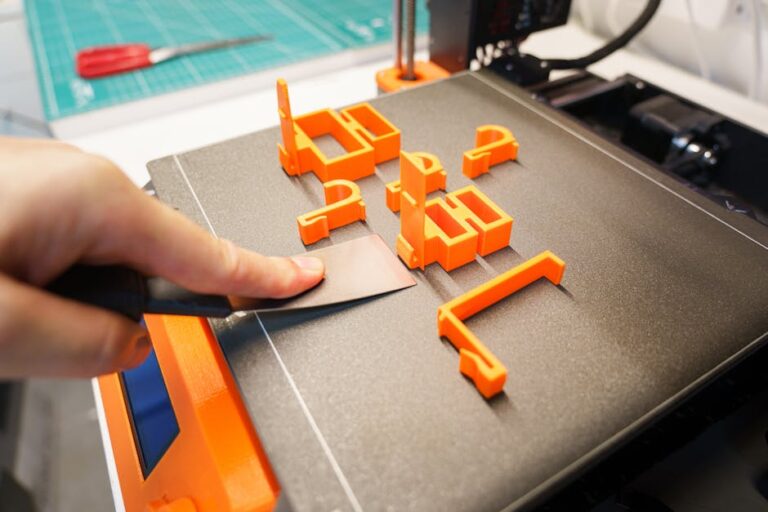
A successful 3D print begins and ends with a perfect first layer. If your print isn’t sticking to the bed or looks messy from the start, that’s your first clue.
Poor Bed Adhesion & Warping
Prints detaching mid-way or corners lifting (warping) are common, especially with materials like ABS and PETG filament, but also PLA.
- Fixes:
- Clean Print Surface: Use isopropyl alcohol (IPA) or soap & water to remove oils and dust from your build plate.
- Bed Temperature: Ensure your heated bed is set to the correct temperature for your filament (e.g., 50-60°C for PLA, 70-80°C for PETG).
- Adhesive Aids: Apply glue stick, hairspray, or a specialized adhesive for extra grip on the print surface.
- Brims/Rafts: Use these in your slicer to increase the print’s surface area and prevent lifting.
- Enclosure: For warp-prone materials like ABS, an enclosure helps maintain a consistent ambient temperature.
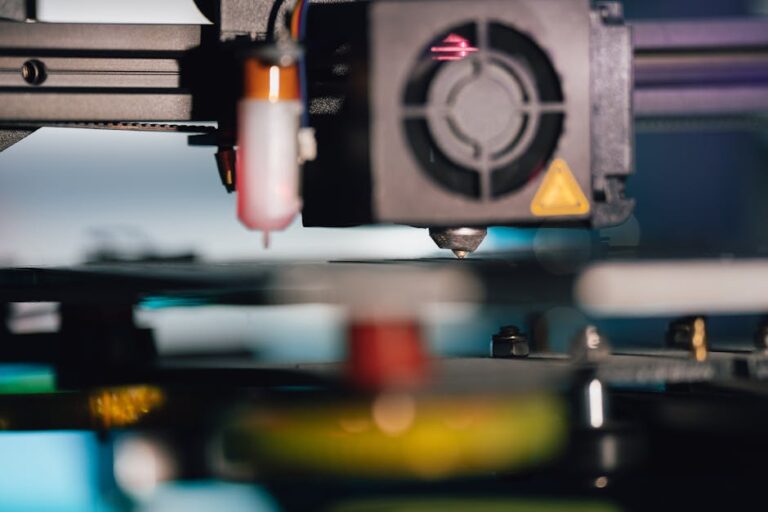
Incorrect Z-Offset & Bed Leveling
Your nozzle needs to be at just the right distance from the build plate for that crucial first layer. Poor calibration leads to first layers that are either too squished or don’t stick.
- Fixes:
- Manual Leveling: For many printers, manually level your bed using a piece of paper (or feeler gauge) between the nozzle and bed; it should have slight resistance when pulled.
- Auto Bed Leveling (ABL): Modern printers like the Bambu Lab A1 or Creality Ender 3 V3 KE feature ABL. Ensure your ABL routine is run and calibrated correctly.
- Adjust Z-Offset: Fine-tune the nozzle’s distance incrementally during the first layer’s print. Aim for a slightly flattened, gap-free layer.
Filament Health & Extrusion Quality
Filament condition and proper extrusion are vital for both structural integrity and aesthetics of your 3D prints.
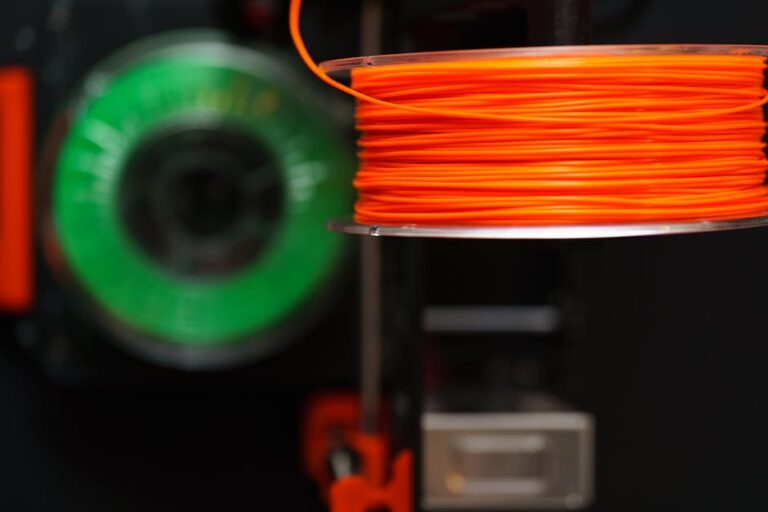
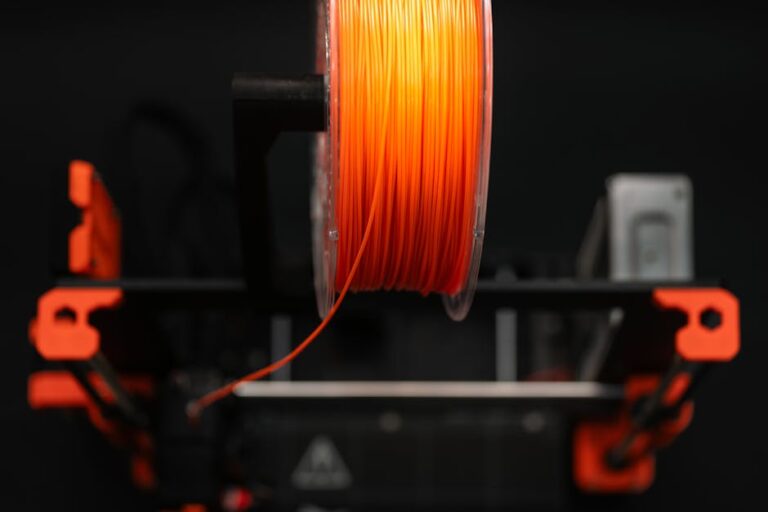
Wet Filament & Print Temperature
Filament absorbs moisture from the air, causing popping sounds during extrusion, poor layer adhesion, and excessive stringing. Additionally, printing outside the optimal temperature range can lead to under-extrusion (gaps, weak prints) or over-extrusion (blobs, dimensional inaccuracies).
- Fixes:
- Dry Filament: Use a dedicated filament dryer or food dehydrator. Store Overture PLA or any filament in airtight containers with desiccant when not in use.
- Check Temp: Consult manufacturer guidelines for your filament, or print temperature towers to find the sweet spot for your specific material and printer.
- Calibrate E-Steps/Flow: Ensure your extruder motor pushes the correct amount of filament by calibrating E-steps and adjusting flow rate in your slicer.
Clogged Nozzles & Aesthetic Flaws (Stringing, Blobs, Layer Shifting)
A partially or fully clogged nozzle prevents proper filament flow, causing under-extrusion or no extrusion at all. Beyond clogs, aesthetic issues like stringing (fine threads), blobs (excess material), or layer shifting (horizontal misalignment) can ruin a print’s appearance and function.
- Fixes:
- Clear Clogs: Perform a “cold pull” (heating and quickly pulling filament out) or use a thin needle to clear the nozzle orifice. For severe clogs, nozzle replacement might be necessary.
- Optimize Retraction: For stringing and oozing, increase retraction distance and/or speed settings in your slicer.
- Reduce Print Speed: Slower print speeds can prevent layer shifting (also check belt tension) and improve overall print quality, especially on detailed models. For reliable performance right out of the box, consider checking out our top recommended 3D printer picks.
- Check Z-Rod: For consistent vertical patterns (often called Z-wobble), inspect your Z-axis rods for any bends, misalignments, or worn couplers.
Final Thoughts & Getting Back to Printing
Encountering a failed 3D print can be frustrating, but it’s an invaluable learning opportunity. By systematically troubleshooting the common issues outlined above—from bed adhesion and calibration to filament quality and extrusion—you’ll not only fix your current problem but also gain a deeper understanding of your 3D printer and the printing process. Remember, even experienced makers face occasional failures; the key is knowing how to diagnose and overcome them.
Don’t let a few failed prints discourage you! With a little patience and these tips, you’ll be producing stunning 3D models consistently. If you’re looking to upgrade your setup or find the perfect accessories to prevent future failures, head over to 3dshopper.com for all your 3D printing needs and our expert recommendations!
Ready to find your perfect 3D printer? Browse our complete guide to the best 3D printers — updated right now with expert picks at every budget.
Shop top-rated 3D printers on Amazon: Bambu Lab A1 | Creality Ender 3 | Prusa MK4