First Layer Calibration Guide for Perfect 3d Prints
The success of any 3D print hinges on a solid foundation, and in the world of FDM printing, that foundation is the first layer. It’s not an exaggeration to say that a perfectly calibrated first layer is the most critical factor for print success, adhesion, and overall quality. A poorly laid first layer can lead to warping, detachment, elephant’s foot, or spaghetti monsters, turning hours of printing into a frustrating waste of time and filament. If you’ve ever struggled with your prints failing early on, this comprehensive first layer calibration 3d printing guide is for you. We’ll walk you through everything you need to know to achieve that elusive, flawless first layer every single time. Check out our best 3D printers guide.
Why the First Layer is So Crucial
Think of the first layer as the blueprint for your entire print. It needs to adhere firmly to the build plate, have consistent thickness, and precisely match the dimensions of your model. When the first layer is spot on, it:
- Ensures Adhesion: A well-calibrated first layer grips the print surface effectively, preventing your print from detaching mid-print.
- Prevents Warping: Good adhesion helps to counteract the forces of plastic shrinkage as it cools, significantly reducing the likelihood of warping.
- Provides a Smooth Base: It sets the stage for all subsequent layers, ensuring they build upon a level and consistent foundation.
- Contributes to Part Strength: Proper fusion between the first layer and the print bed, as well as subsequent layers, contributes to the overall strength and integrity of the final part.
Signs of a Poor First Layer
Before we dive into calibration, let’s identify what a bad first layer looks like:
Nozzle Too High:
- Gaps Between Lines: You’ll see distinct lines with noticeable gaps or channels between them, indicating the filament isn’t being pressed down enough.
- Poor Adhesion: The print detaches easily, often curling up at the edges during printing or popping off with minimal force.
- Round, Stringy Appearance: Instead of flat, squished lines, the filament looks more like thin, round strings laid on the surface.
Nozzle Too Low:
- Scraping/Dragging Nozzle: The nozzle might visibly drag across the print surface, leaving scars or even scraping off previously laid plastic.
- “Elephant’s Foot”: The first few layers are wider than the rest of the print, causing the base to bulge outwards.
- Translucent or “Mashed” Appearance: The filament is squished so thin that it becomes semi-transparent, or the lines merge into an overly flat, almost erased appearance, sometimes causing blobs or rough patches.
- Clogged Nozzle: If it’s too low for too long, the pressure can build up and lead to a nozzle clog.
Uneven Leveling:
- Some areas show signs of the nozzle being too high, while others show it being too low. This indicates an unlevel build plate.
What a Perfect First Layer Looks Like
A perfect first layer should be:
- Consistent: Uniform thickness across the entire print area.
- Slightly Squished: The filament lines should be oval, not round, and fused together without gaps, but not so squished that they bulge out excessively or become translucent.
- Opaque (for most materials): You shouldn’t be able to easily see through the lines.
- Smooth to the Touch: The top surface should feel smooth and uniform, not rough or ridged.
- Strongly Adhered: It should be difficult to remove without some effort once the bed has cooled.
Step-by-Step First Layer Calibration Guide
Achieving this ideal layer involves a combination of mechanical adjustments and software settings. Let’s get started:
1. Prepare Your Print Surface
A clean surface is paramount for good adhesion. Different surfaces require different care:
- Glass/PEI Sheets: Clean thoroughly with isopropyl alcohol (IPA) between prints. For stubborn residues, soap and water can be used, ensuring a completely dry surface afterwards.
- Flexible Steel Sheets (Textured/Smooth PEI): IPA is usually sufficient. Avoid abrasive cleaners.
- Build Tak/Adhesive Sheets: Wipe with IPA. Replace when adhesion degrades significantly.
Sometimes, an adhesive aid like a glue stick, hairspray, or a specialized adhesive spray (like Magigoo) can improve adhesion, especially for tricky filaments like ABS or PETG. Just make sure to apply it evenly and sparingly.
2. Heat Up Your Bed and Nozzle
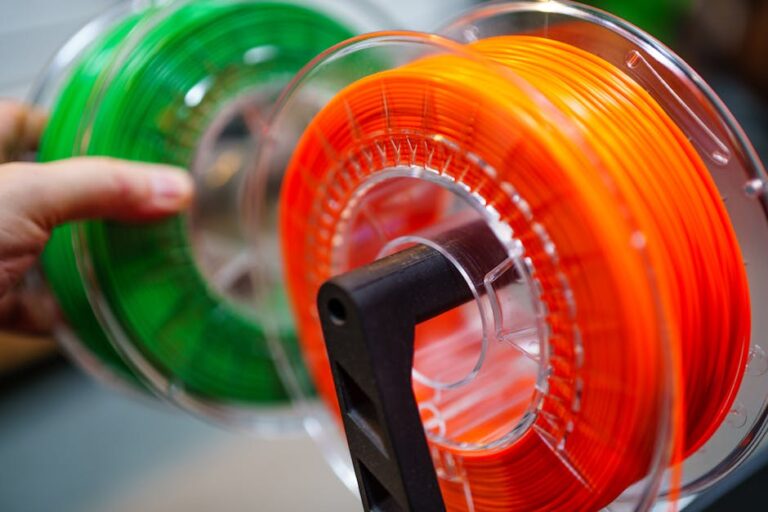
Always calibrate with your print bed and nozzle at their target printing temperatures. Materials expand when hot, so calibrating cold will lead to inaccurate results once heated. For PLA, a bed temperature of 50-60°C and a nozzle temp of 190-210°C are common starting points. For PETG, try 70-85°C for the bed and 230-250°C for the nozzle (consider a spool of high-quality PETG filament for your next project!).
3. Auto-Leveling (If Applicable)
Many modern 3D printers, including some of our top recommended 3D printer picks, feature auto bed leveling (ABL) sensors (BLTouch, CRTouch, inductive, capacitive). Run the ABL routine according to your printer’s instructions. While ABL maps the bed’s irregularities, it doesn’t set your Z-offset, which is the crucial next step.
4. Manual Bed Leveling (If Applicable)
If your printer doesn’t have ABL, or even if it does and you want to ensure a perfectly tram-ed bed, manual leveling is essential. Most printers use springs under the bed with adjustment knobs:
- The Paper Method: Home your Z-axis. Move the nozzle to each corner (and the center) of the bed. Adjust the bed height until a standard sheet of paper (0.1mm thick) slides under the nozzle with a slight amount of drag. Repeat this process several times around all points, as adjusting one corner can affect others.
- Feeler Gauge: For more precision, use a feeler gauge of a specific thickness (e.g., 0.1mm or 0.2mm) instead of paper.
5. Z-Offset Adjustment – The Key to Perfection
The Z-offset is the distance between where your printer “thinks” Z=0 is and where the nozzle actually is relative to the print surface. This is arguably the most critical setting for first layer quality.
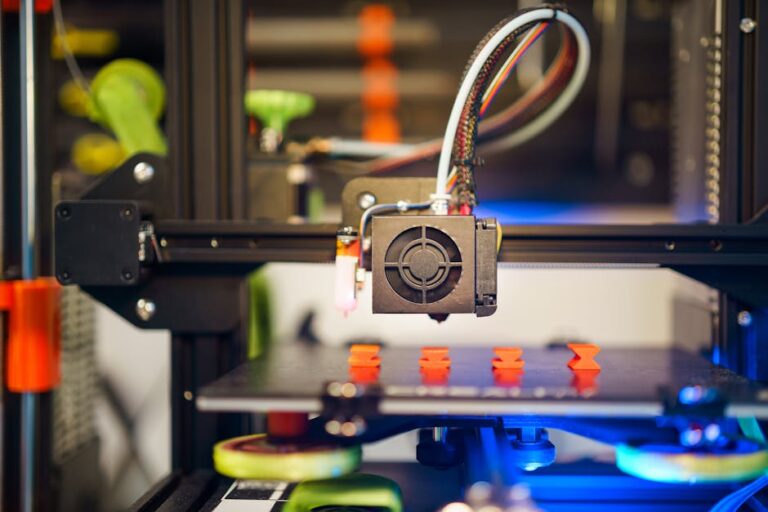
- How to Adjust: Many printers allow “Live Z-Adjust” during the first layer of a print. Start a test print (a single layer square or lines across the bed are ideal). As the first layer goes down, slowly decrease your Z-offset (move the nozzle closer to the bed, typically a negative value like -0.02mm, -0.05mm increments) if the lines are gappy. Increase the Z-offset (move nozzle away, positive value) if the lines are too squished or the nozzle is dragging.
- Observe Closely: Watch the filament as it’s laid down. Aim for that “just right” squish where lines merge perfectly without gaps or excessive transparency.
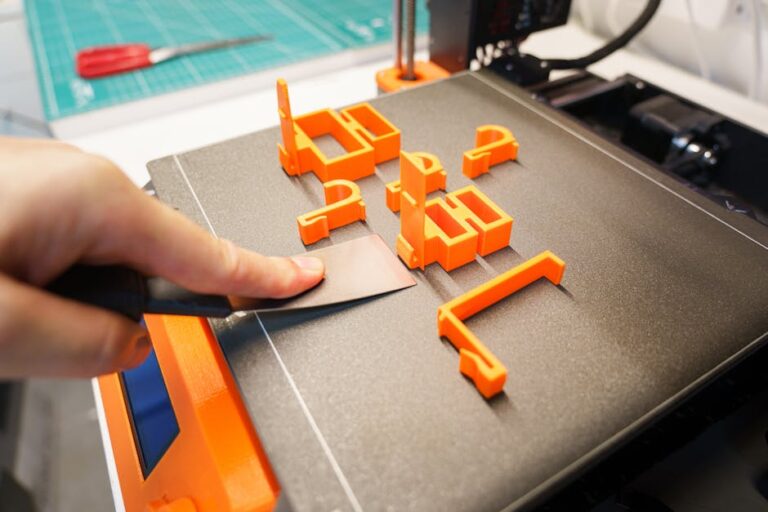
6. Print a First Layer Test
Don’t jump straight into a multi-hour print! Use a dedicated first layer test print (easily found on Thingiverse or Printables, or simply print a large single-layer square or grid) to fine-tune your Z-offset and check for consistency across the bed. Quality filaments like Overture PLA or Hatchbox PLA are excellent for these tests due to their consistency.
7. Observe and Adjust
Once your test print is done, examine it:
- Peel Test: Does it peel off too easily? Z-offset might be too high or surface adhesion lacking.
- Smoothness: Is the top surface smooth and consistent?
- Gaps/Ridges: Are there any visible gaps or overly thick ridges? Adjust Z-offset or check for uneven leveling.
Advanced Tips for First Layer Success
- First Layer Speed: Print your first layer slower (e.g., 15-25 mm/s) than subsequent layers. This allows the plastic more time to adhere and cool properly.
- First Layer Line Width/Height: Experiment with increasing first layer line width (e.g., 120% of nozzle diameter) in your slicer. This puts down more plastic, improving adhesion and filling gaps. You might also increase the first layer height slightly.
- Cooling: Often, you want minimal or no cooling fan for the first few layers to prevent warping and aid adhesion. Start fan at 0% for the first layer, gradually ramping up to your desired percentage over 3-5 layers.
- Environmental Factors: Drafts, open windows, or even air conditioning can cause uneven cooling and warping, especially with larger prints. Consider an enclosure for your printer if you frequently experience these issues.
Mastering your first layer calibration is a skill that will save you countless hours of frustration and wasted filament. It’s the cornerstone of successful 3D printing, and once you get it right, your prints will transform dramatically. Keep experimenting, keep observing, and you’ll soon be laying down perfect first layers with confidence.
Ready to upgrade your printer or try new filaments to achieve even better results? Explore the extensive range of 3D printers, filaments, and accessories available right here at 3dshopper.com, your one-stop shop for all things 3D printing!
Ready to find your perfect 3D printer? Browse our complete guide to the best 3D printers — updated right now with expert picks at every budget.
Shop top-rated 3D printers on Amazon: Bambu Lab A1 | Creality Ender 3 | Prusa MK4