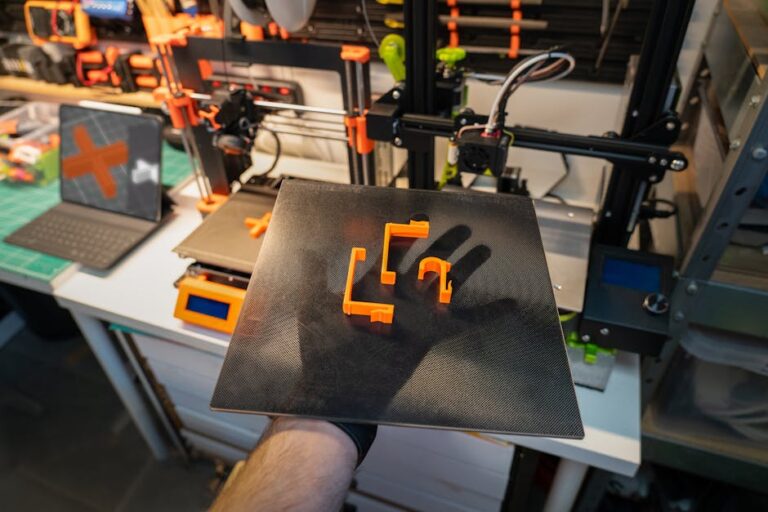
How to Repair Stl Files for 3d Printing — Free Tools
Ever loaded an exciting new 3D model into your slicer, only to be met with a frustrating error message or, worse, a visually broken preview? Chances are, you’ve encountered a problematic STL file. These issues, ranging from subtle gaps to major structural flaws, are incredibly common in the world of 3D printing and can lead to failed prints, wasted filament, and endless headaches. But don’t despair! Repairing STL files doesn’t require expensive software or advanced CAD skills. In this guide, we’ll walk you through why these issues occur and, more importantly, introduce you to a range of fantastic free tools that can get your models print-ready. Check out our best 3D printers guide.
Why Do STL Files Need Repairing?
Before we dive into solutions, let’s understand the root of the problem. STL (stereolithography) files are the most common file format for 3D printing. They represent a 3D model’s surface using a collection of interconnected triangles. For a model to be “watertight” and printable, these triangles must form a continuous, closed surface with no gaps, overlaps, or inconsistencies.
However, when models are created or converted, several issues can arise:
- Non-Manifold Edges: An edge shared by more than two triangles, creating an ambiguous surface. Slicers don’t know which surface to follow.
- Inverted Normals: Triangles have a “front” and “back” side (determined by their normal vector). If some are flipped, the slicer can get confused about what’s inside and outside the model.
- Holes or Gaps: Missing triangles leave open areas on the model’s surface, preventing it from being a closed volume.
- Self-Intersections: Parts of the model’s surface pass through other parts, creating ambiguous geometry.
- Duplicate Faces: Two or more triangles occupying the exact same space.
- Small Gaps/Tolerance Issues: Tiny imperfections that might look fine visually but cause issues when the slicer tries to interpret them.
Any of these issues can prevent your slicer from generating a proper toolpath, leading to missing layers, unexpected holes, or even outright print failures. It’s a fundamental step in ensuring your design translates into a successful physical object, whether you’re printing with Overture PLA or experimenting with PETG filament.
How to Identify a Problematic STL File
Often, your slicer will be the first to warn you. Programs like Cura, PrusaSlicer, or Simplify3D frequently highlight errors or show non-manifold edges in their preview modes. Look for:
- Slicer Warnings: Many slicers have built-in mesh analysis and will alert you to issues upon import.
- Visual Gaps in Preview: Rotate the model in your slicer. Do you see unexpected holes, thin lines that shouldn’t be there, or areas that look “transparent” when they should be solid?
- Unexpected Supports or Missing Details: If the slicer generates supports in strange places or ignores certain features, it might indicate an underlying mesh problem.
- Failed Prints: The ultimate indicator. If prints consistently fail in certain areas despite correct settings, a faulty STL is a prime suspect.
Free Tools to Repair STL Files
Now for the good stuff! Here are some excellent free tools you can use to mend your broken STLs.
1. Netfabb Online Service (Microsoft 3D Tools)
This is often the go-to for quick and effortless repairs, especially for beginners. Microsoft acquired Netfabb’s cloud-based repair service, and it’s incredibly user-friendly.
- How it works: You upload your problematic STL file to their website. The service automatically analyzes and repairs common issues, then provides a link to download the fixed file. It’s largely automated and very effective for a wide range of problems.
- Pros: Extremely easy to use, no software installation required, highly effective for common errors.
- Cons: Limited control over the repair process, requires an internet connection.
- Where to find it: Search for “Microsoft 3D Tools Netfabb” or “Azure Spheres 3D File Repair”.
2. PrusaSlicer / SuperSlicer
If you’re already using PrusaSlicer (or its community-driven counterpart, SuperSlicer) as your primary slicing software, you’re in luck! Both have robust built-in mesh repair capabilities.
- How it works: When you import an STL with issues, PrusaSlicer will often detect problems and offer to fix them automatically. You’ll see a small yellow warning icon next to the model name, and clicking it will usually present options to fix manifold errors or close holes.
- Pros: Convenient, integrated directly into your slicing workflow, often very effective for common errors detected by the slicer.
- Cons: Not as powerful for complex repairs as dedicated mesh editors, manual options are limited.
- Where to find it: Download PrusaSlicer or SuperSlicer from their respective websites.
3. MeshMixer
Developed by Autodesk, MeshMixer is a powerful and versatile tool for working with 3D meshes. While it has a steeper learning curve than the automated Netfabb service, it offers much more control.
- How it works: Import your STL. Use the “Inspector” tool (under the Analysis menu) to automatically detect and repair non-manifold edges, holes, and other issues. MeshMixer can also be used for sculpting, boolean operations, and general mesh editing, allowing for more targeted manual repairs.
- Pros: Very powerful and comprehensive for mesh analysis and repair, offers both automatic and manual repair options, great for preparing models for printing.
- Cons: Can be overwhelming for complete beginners due to its vast feature set.
- Where to find it: Search for “Autodesk MeshMixer”.
4. Blender
Blender is a free, open-source 3D creation suite that can handle everything from modeling and animation to rendering. It’s also an excellent tool for repairing STL files, especially with its “3D Print Toolbox” add-on.
- How it works: Import your STL into Blender. Enable the “3D Print Toolbox” add-on (Edit > Preferences > Add-ons). This toolbox provides specific tools for checking mesh integrity, detecting errors (like non-manifold edges, intersections, thickness issues), and cleaning up meshes. You can then use Blender’s extensive mesh editing tools in Edit Mode to manually fix more stubborn problems.
- Pros: Unparalleled power and flexibility for both automatic and manual repairs, large community support, not just for repair but full 3D modeling.
- Cons: Significant learning curve for those new to 3D modeling software.
- Where to find it: Download Blender from blender.org.
5. FreeCAD (for more advanced users)
FreeCAD is a parametric 3D CAD modeler, similar to commercial software like SolidWorks. While primarily for solid modeling, it has a “Mesh Workbench” that can be useful for certain types of STL repair.
- How it works: Import your STL into FreeCAD. Switch to the Mesh Workbench. Here, you can analyze the mesh for errors and even attempt to convert a mesh into a solid, which can sometimes automatically resolve manifold issues. It’s particularly useful if you need to perform boolean operations (like cutting or joining) on a mesh-based model.
- Pros: Good for converting meshes to solids, powerful for combining mesh repair with CAD capabilities.
- Cons: More focused on solid modeling, so its mesh repair capabilities aren’t as intuitive or comprehensive as dedicated mesh editors for typical STL errors.
- Where to find it: Download FreeCAD from freecadweb.org.
Tips for Preventing STL File Issues
While repairing is essential, prevention is always better! Here are some tips:
- Design Cleanly: If you’re designing your own models, ensure your CAD software’s export settings are configured correctly for watertight meshes. Avoid creating self-intersecting geometry from the start.
- Use Reliable Sources: When downloading models from sites like Thingiverse or Printables, check comments and remixes for any mention of printability issues or suggested repairs.
- Always Preview: Make it a habit to thoroughly check your model in your slicer’s preview mode before hitting print, whether you’re using an Ender 3 V3 or any other printer.
- Educate Yourself: A basic understanding of mesh geometry (normals, edges, faces) will go a long way in diagnosing and fixing problems.
Don’t let a bad STL file ruin your 3D printing experience. With these free tools at your disposal, you can confidently tackle most common mesh issues and get back to creating amazing objects. Happy printing! If you’re looking to upgrade your setup or get started, be sure to check out our top recommended 3D printer picks to find the perfect machine for your needs.
Ready to find your perfect 3D printer? Browse our complete guide to the best 3D printers — updated right now with expert picks at every budget.
Shop top-rated 3D printers on Amazon: Bambu Lab A1 | Creality Ender 3 | Prusa MK4