Tinkercad Tutorial — Design Your First 3d Print
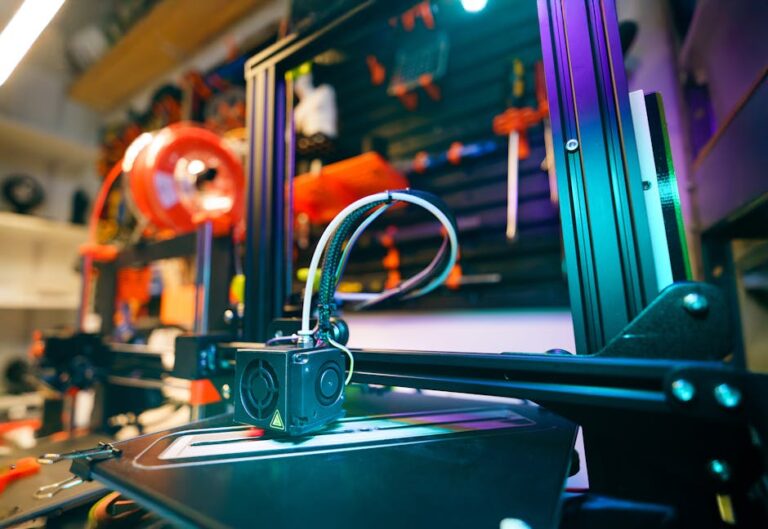
Welcome to the exciting world of 3D printing! If you’ve been curious about transforming your ideas into physical objects but felt intimidated by complex design software, you’ve come to the right place. This Tinkercad tutorial is designed specifically to help you create your first 3D print, making the journey from concept to creation as smooth as possible. Tinkercad, a free online 3D design tool from Autodesk, is renowned for its user-friendliness, making it the perfect starting point for beginners, hobbyists, and educators alike. Ready to unleash your inner designer? Check out our best 3D printers guide.
Why Tinkercad is Your Perfect Starting Point
Before we dive into designing, let’s quickly understand why Tinkercad stands out as the ideal platform for your initial foray into 3D design. Its core philosophy is “simple and powerful,” achieved through a block-building approach. Instead of intricate menus and steep learning curves, you’ll be dragging and dropping basic shapes, combining them, and carving them out to build complex models. This intuitive interface allows you to focus on creativity rather than getting lost in technicalities. Plus, being browser-based means you can access it from any computer with an internet connection, no downloads required!
Getting Started with Tinkercad
Setting Up Your Account
First things first, head over to Tinkercad.com. You can sign up for a free account using your email, Google account, or Apple ID. Once you’re logged in, click “Create new design” to open your workspace.
Navigating the Tinkercad Interface
Your Tinkercad workspace will look something like this:
- Workplane: This blue grid is where all your design magic happens. Think of it as the ground your object will sit on.
- Shapes Panel (Right Side): This is your toolbox, filled with basic geometric shapes (box, cylinder, sphere, etc.) and other useful items. You’ll also find “Hole” shapes here, which are crucial for subtracting material.
- View Cube (Top Left): Use this to rotate your view around your design. You can also right-click and drag on the workplane to rotate.
- Zoom Controls (Top Left): Magnify or shrink your view. The scroll wheel on your mouse also works.
- Toolbar (Top): Essential tools like Copy, Paste, Duplicate, Group, Ungroup, Align, and Mirror are found here.
Your First 3D Print Design: A Custom Keychain
For our first 3D print, we’ll design a simple, yet practical, custom keychain. This project covers essential Tinkercad skills: adding shapes, resizing, combining, subtracting, and adding text.
Step 1: Create the Base of Your Keychain
- From the Shapes Panel, drag a “Box” onto your Workplane.
- Click on the box to reveal white and black handles. The white handles adjust length and width; the black handles adjust height. You can also click the dimensions that appear to type in exact measurements.
- Let’s make a rectangular base. Click one of the white corner handles. Input dimensions like 50mm for length, 20mm for width, and 3mm for height. This size is good for a compact keychain.
Step 2: Personalize with Text
Now, let’s add your name or a short message to your keychain.
- From the Shapes Panel, scroll down and find the “Text” shape. Drag it onto your Workplane.
- With the Text shape selected, an input box will appear. Type your desired text (e.g., “3DSHOPPER”).
- You can also change the font and adjust its height, bevel, and segments from this panel.
- Now, resize the text to fit nicely onto your keychain base. Use the white handles, making sure it’s smaller than your base in length and width.
- Use the black arrow on top of the text to lift it slightly, say to 1mm above the Workplane. This ensures it’s raised on your keychain.
- Select both the text and the base (click and drag a box around them, or hold Shift and click both). Click the “Align” tool (looks like two gray boxes) in the top toolbar. Use the center alignment dots to perfectly center the text on the base.
Step 3: Add a Hole for the Key Ring
Every keychain needs a hole!
- Drag a “Cylinder” shape from the Shapes Panel onto your Workplane.
- Immediately change this Cylinder from a solid shape to a “Hole” by clicking the “Hole” option in its properties panel (when selected). The cylinder will become translucent gray.
- Resize the cylinder to a diameter of about 4mm-5mm (e.g., 4mm length, 4mm width). Ensure its height is at least 3mm to go all the way through your keychain base.
- Position this hole near one end of your keychain base. You can use the “Align” tool again to center it vertically with the base if you wish, then manually slide it to the desired end.
Step 4: Grouping Your Objects
This is where everything comes together!
- Select all the objects on your Workplane: the base, the text, and the hole cylinder (click and drag a box around them).
- Click the “Group” button in the top toolbar (it looks like a square and a circle merging).
- Watch as your text merges with the base, and the hole magically appears where the cylinder once was! Your keychain is now a single, solid object.
Step 5: Refining and Exporting Your Design
Take a moment to rotate your design using the View Cube or right-click and drag. Does it look right? If you need to make changes, select the object and click “Ungroup” to separate the components. Once you’re satisfied, it’s time to export!
Click the “Export” button (top right, next to “Send To”). For 3D printing, you’ll almost always want to choose “.STL”. This file type is universally recognized by 3D printing software (slicers) and contains all the necessary information for your printer to understand your design.
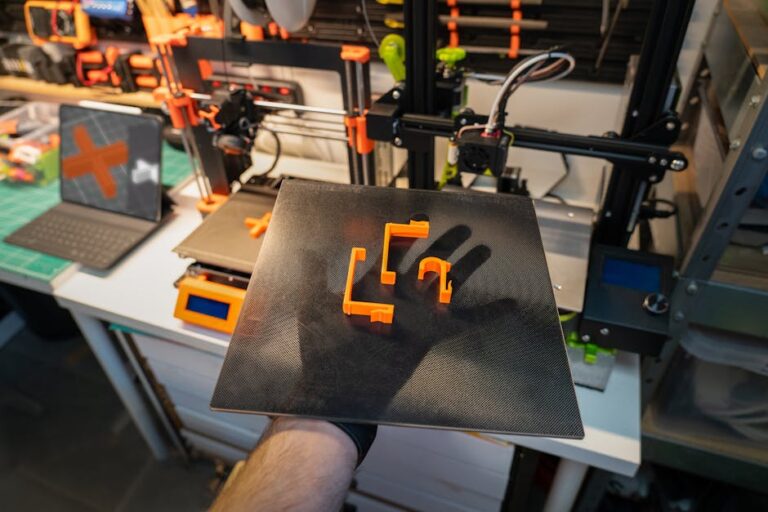
From Screen to Reality: Printing Your Design
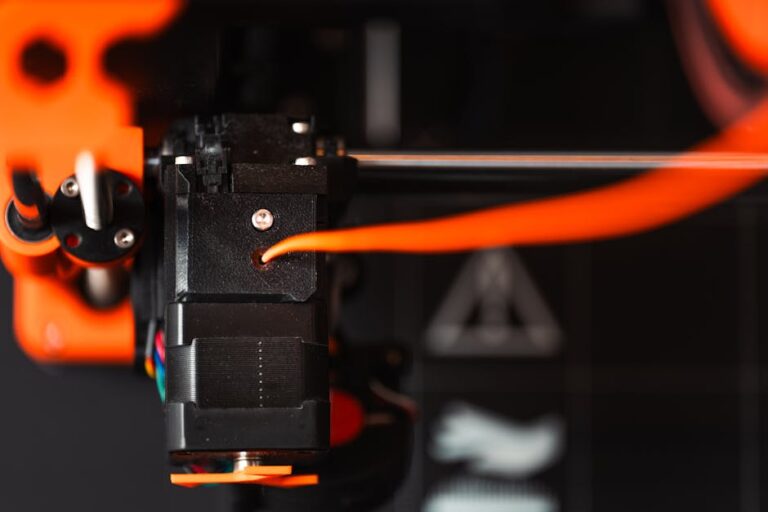
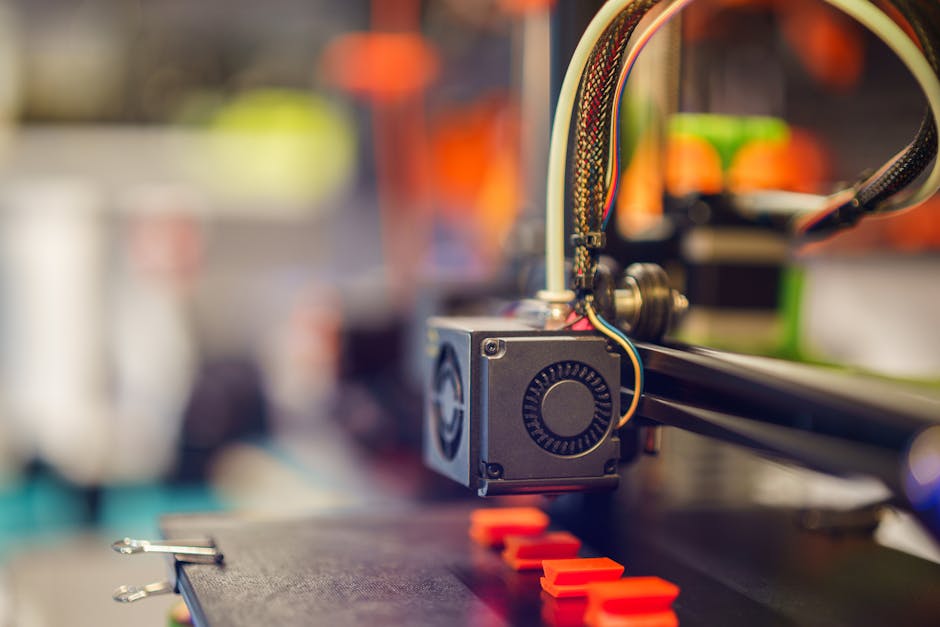
Congratulations, you’ve designed your first 3D model! The next step is bringing it to life with a 3D printer. You’ll take your exported .STL file and load it into a “slicer” program (like Cura or PrusaSlicer), which prepares the model for your specific printer.
If you’re still looking for the perfect machine to kickstart your 3D printing journey, be sure to check out our top recommended 3D printer picks. For beginners, a reliable FDM (Fused Deposition Modeling) printer like the Bambu Lab A1 Mini or Creality Ender-3 V3 KE is an excellent choice.
You’ll also need filament – the material your printer uses to build your object. PLA (Polylactic Acid) is the most popular and easiest-to-use filament for beginners, perfect for your keychain. You can find high-quality options like Hatchbox PLA or Overture PLA. For more advanced projects requiring higher durability or flexibility, consider trying materials like PETG filament.
Keep Experimenting!
This Tinkercad tutorial for your first 3D print is just the beginning. Tinkercad has so much more to offer. Don’t be afraid to drag out random shapes, combine them in new ways, and use the “Hole” feature creatively. Try making a custom phone stand, a simple pen holder, or even a small toy character. The more you experiment, the more comfortable and confident you’ll become.
Ready to turn your digital creations into tangible items? At 3dshopper.com, we provide everything you need, from beginner-friendly 3D printers and a vast selection of filaments to accessories and expert advice. Start designing today, and when you’re ready to print, we’ve got you covered!
Ready to find your perfect 3D printer? Browse our complete guide to the best 3D printers — updated right now with expert picks at every budget.
Shop top-rated 3D printers on Amazon: Bambu Lab A1 | Creality Ender 3 | Prusa MK4