How to Clean and Maintain Your 3d Printer
Your 3D printer is an incredible piece of technology, capable of bringing your digital designs to life with remarkable precision. But like any complex machine, it thrives on a little TLC. Neglecting regular maintenance can lead to a host of problems, from unsightly print artifacts and failed prints to costly component replacements and a shortened printer lifespan. To ensure your prints are always top-notch and your machine runs smoothly for years to come, understanding how to clean and maintain your 3D printer is absolutely essential. Whether you’re a beginner just getting started with your first Creality Ender-3 V3 or a seasoned pro with a Bambu Lab A1, this guide will walk you through the crucial steps for keeping your FDM or resin 3D printer in pristine condition. Check out our best 3D printers guide.
Why Regular 3D Printer Maintenance Matters
Think of your 3D printer like a car. You wouldn’t expect it to run perfectly without oil changes or tune-ups, would you? The same principle applies here. Over time, filament dust, resin residue, grease, and general wear can degrade performance. Regular cleaning prevents these issues, ensuring consistent print quality, improving reliability, and saving you from frustrating troubleshooting. A well-maintained printer means less downtime and more successful projects.
General Maintenance Best Practices
Safety First!
Always unplug your 3D printer from the power source before any maintenance. For resin printers, wear nitrile gloves and safety glasses, and work in a well-ventilated area. Be aware that hotends can remain hot after powering down.
Establish a Maintenance Schedule
Some tasks need daily attention, others weekly or monthly. Creating a simple schedule helps you stay on top of things. Consistent effort prevents major issues.
FDM (Filament) 3D Printer Maintenance
FDM printers, common for hobbyists using PLA, PETG, or ABS, require maintenance focused on preventing clogs, ensuring smooth motion, and maintaining bed adhesion.
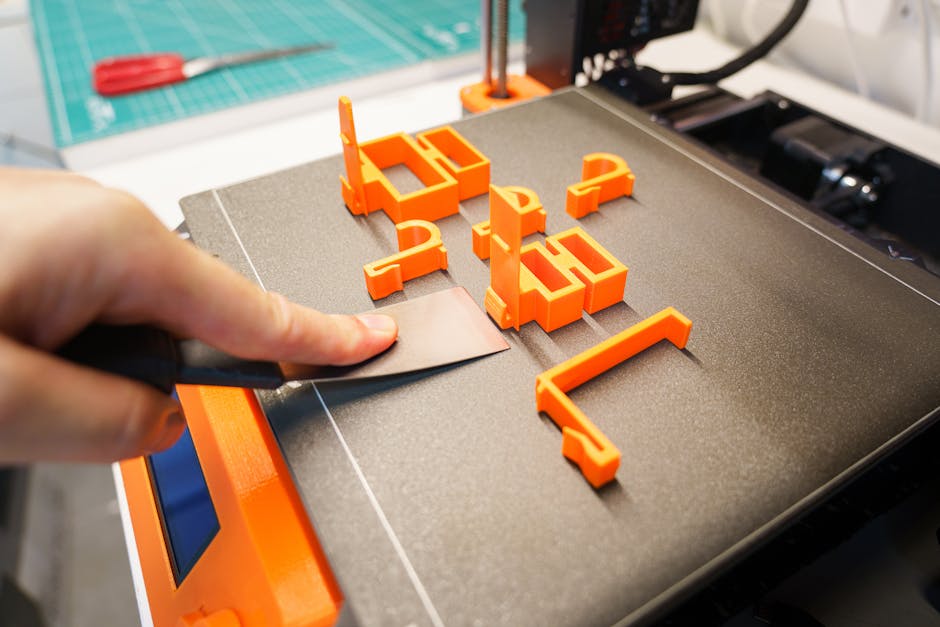
1. Cleaning the Print Bed
The print bed’s cleanliness directly impacts first-layer adhesion. After every print, use a scraper to remove filament bits. For thorough cleaning:
- **Glass/PEI Sheets:** Wipe with isopropyl alcohol (IPA) to remove oils. For stubborn grime, mild soap and water can be used, followed by rinsing and drying.
- **Flexible Plates:** IPA wipes are usually sufficient. If using adhesives, gently clean with warm water and soap.
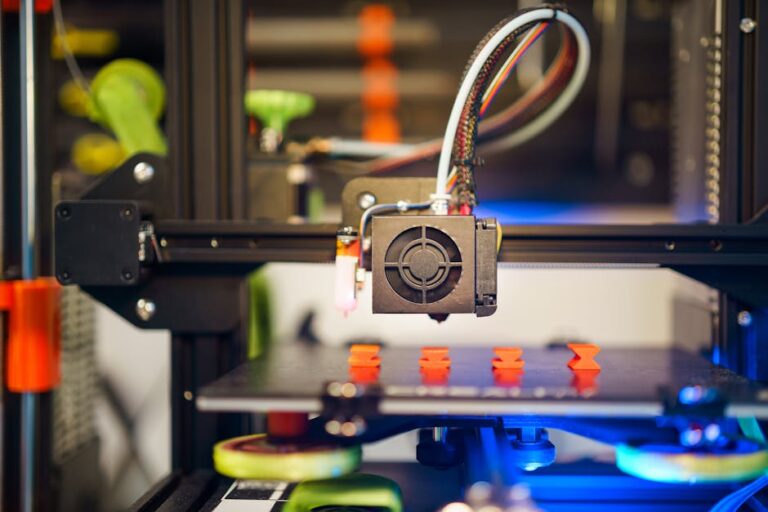
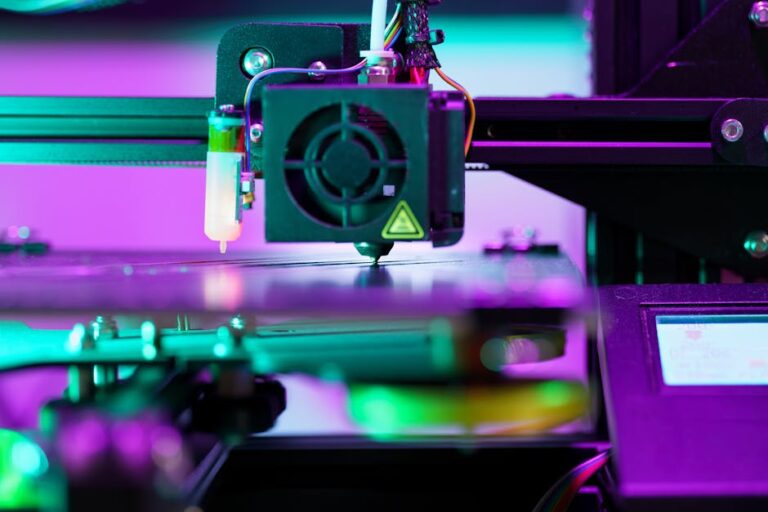
2. Nozzle Care: Preventing and Clearing Clogs
The nozzle is the heart of your FDM printer; clogs are common.
- **After Every Print:** Use a brass wire brush to gently clean oozed or burnt filament from the nozzle exterior while it’s still warm.
- **Cold Pulls:** For internal clogs, a “cold pull” often works. Heat the nozzle, push fresh filament through, let it cool slightly, then quickly pull it out to extract the clog.
- **Nozzle Replacement:** For persistent clogs or visible damage, replacement is the best solution. Keep spares!
3. Extruder Assembly Check
Periodically inspect extruder gears for accumulated filament dust or debris. Use a small brush or compressed air to clean them. Ensure the tension arm moves freely and the filament path is clear. Worn gears might need replacement.
4. Lubricating Moving Parts
Smooth motion is crucial for print quality.
- **Lead Screws:** Apply a small amount of lithium grease or PTFE-based lubricant to Z-axis lead screws every few weeks or months.
- **Smooth Rods/Linear Rails:** Clean with a lint-free cloth, then apply a very thin layer of high-quality machine oil or dry lubricant.
- **Belts:** Check X and Y-axis belt tension. They should be taut but not overly tight. Adjust if necessary.
5. Fan & Cooling System Maintenance
Dust on cooling fans (hotend, part cooling, mainboard) reduces efficiency. Use compressed air or a soft brush to clear away dust. Ensure all fans spin freely.
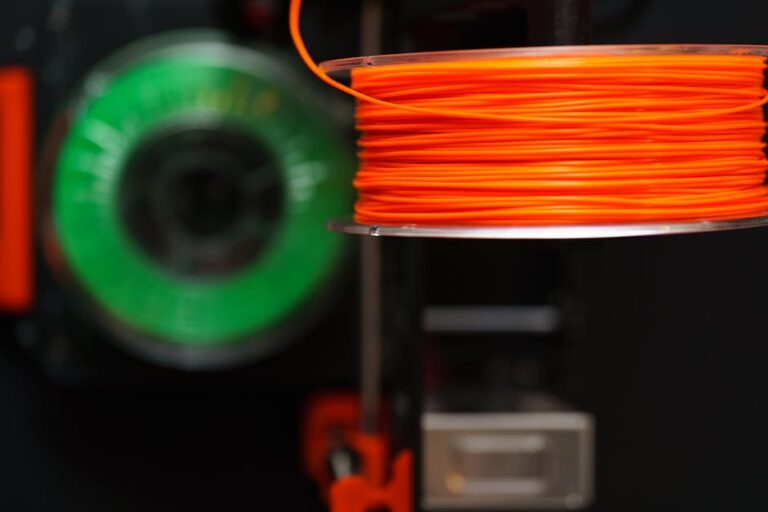
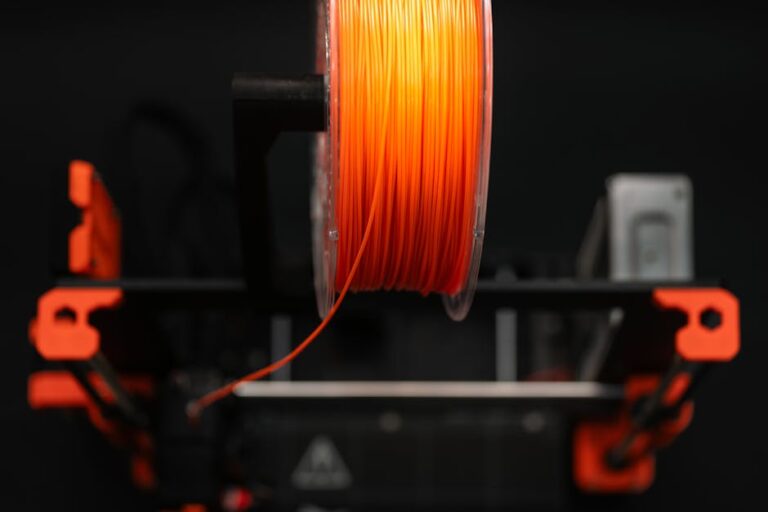
6. Filament Management
Proper filament storage significantly impacts print quality. Keep your Overture PLA or Hatchbox PLA in a dry environment, ideally in sealed bags with desiccant, to prevent moisture absorption. Wet filament leads to stringing, blobbing, and weakened prints.
Resin (SLA/DLP/LCD) 3D Printer Maintenance
Resin printers, like the Elegoo Mars series, offer incredible detail but require specific cleaning protocols due to liquid resin.
1. Cleaning the Resin Vat and FEP Film
This is critical for resin printer maintenance.
- **After Each Print:** Inspect the FEP film for cured resin bits, tears, or clouding. Use a plastic scraper to gently remove cured residue. Never use metal scrapers!
- **Resin Filters:** Strain unused resin back into its bottle using a mesh filter to remove cured particles before storage.
- **FEP Film Replacement:** Replace if cloudy, scratched, or damaged to ensure print success and prevent leaks. Keep spare FEP films.
- **Vat Cleaning:** When changing resin or if the vat is dirty, empty it, wipe with paper towels, then use IPA for a final clean. Air dry completely.
2. Build Plate Cleaning
After removing your print, use IPA and a paper towel to wipe down the build plate. For stubborn cured resin, a plastic scraper can be used. Ensure it’s completely clean and dry.
3. LCD Screen & Optics Care
The LCD screen underneath the resin vat is vital.
- **Protection:** Ensure the FEP film is clean and sealed to prevent resin leaks onto the LCD. A screen protector is a wise investment.
- **Cleaning:** If resin spills, immediately wipe gently with IPA and a microfiber cloth. Never press hard.
- **Optics:** Periodically inspect the projector lens/LED array for dust or resin splatters. Clean very gently with a lens cloth and air blower.
4. General External Cleaning
Wipe down the printer’s exterior with IPA to remove any resin splashes. Keep the enclosure clean.
Essential Maintenance Tools
Having the right tools makes maintenance easier and safer:
- **Isopropyl Alcohol (IPA):** For cleaning print beds, resin vats, surfaces.
- **Brass Wire Brush:** For cleaning FDM nozzles.
- **Plastic Scraper:** For removing prints and cleaning resin vats (never metal for FEP).
- **Metal Scraper/Spatula:** For removing FDM prints from beds.
- **Lubricants:** Lithium grease (for lead screws), light machine oil/PTFE lubricant (for smooth rods/linear rails).
- **Nitrile Gloves & Safety Glasses:** Essential for resin printing safety.
- **Lint-Free Cloths & Microfiber Towels:** For cleaning delicate surfaces.
- **Compressed Air:** For dusting fans and hard-to-reach areas.
The Payoff: Longer Life, Better Prints
Investing a little time to clean and maintain your 3D printer pays dividends. You’ll experience fewer failed prints, achieve higher quality results, and significantly extend the life of your valuable equipment. Regular care saves you money on replacement parts and filament, and avoids the headache of constant troubleshooting. A well-maintained machine is a happy machine, churning out perfect prints every time.
Ready to upgrade your setup or looking for your next printing adventure? Explore our selection of high-quality printers and accessories! Check out our top recommended 3D printer picks and find the perfect machine to bring your ideas to life. At 3D Shopper, we’re committed to helping you make the most of your 3D printing journey!
Ready to find your perfect 3D printer? Browse our complete guide to the best 3D printers — updated right now with expert picks at every budget.
Shop top-rated 3D printers on Amazon: Bambu Lab A1 | Creality Ender 3 | Prusa MK4