How to Level a 3d Printer Bed — Step-by-step Guide
A perfectly level print bed is the silent hero behind every successful 3D print. It’s the foundational step that ensures your models adhere properly, print consistently, and come out looking exactly as you designed them. If you’ve ever experienced frustrating issues like prints not sticking, warped bases, or the infamous “spaghetti monster” forming on your print bed, chances are an unlevel bed was the culprit. Don’t worry, bed leveling isn’t some dark art – it’s a straightforward process that every 3D printer owner can master. This comprehensive guide will walk you through the essential steps to achieve a perfectly leveled bed, transforming your printing experience from frustrating to fantastic. Check out our best 3D printers guide.
Why Bed Leveling is Non-Negotiable for Great Prints
Think of your 3D printer as a canvas, and the print bed as its surface. Just as a painter needs a smooth, flat canvas, your 3D printer needs a level bed to lay down the first layer of filament evenly. If the nozzle is too close in one spot, it can scratch the bed or block filament flow. If it’s too far away, the filament won’t adhere and will peel off or warp. These first-layer issues cascade, leading to a host of problems including:
- Poor Adhesion: Prints detaching mid-way.
- Warping: Corners or edges of your print lifting from the bed.
- Elephants Foot: The first few layers expanding outwards at the base.
- Squished Layers: Nozzle dragging across the print, creating rough surfaces.
- Under-extrusion/Skipping: Filament not flowing correctly due to nozzle obstruction.
Mastering bed leveling is arguably the single most impactful skill you can develop to improve your print quality and consistency.
Before You Begin: Essential Tools and Preparation
Before diving into the leveling process, gather a few simple items and perform some quick checks:
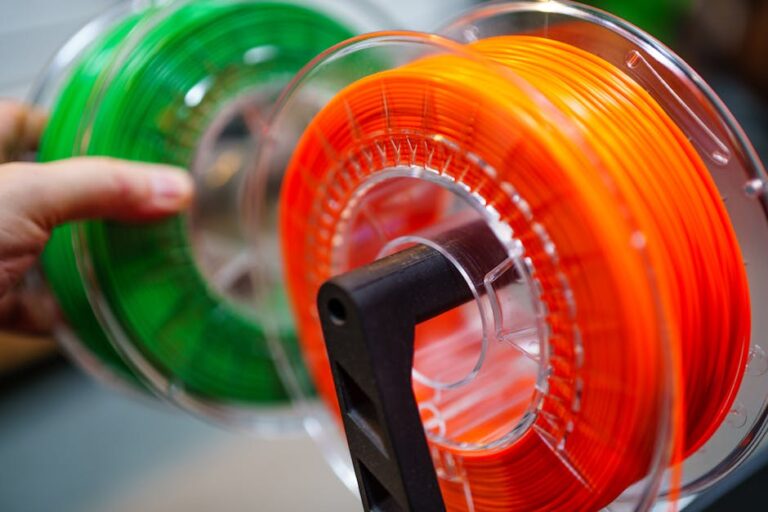
- Standard Piece of Paper: A regular sheet of 80gsm copy paper is your best friend for manual leveling. Some prefer feeler gauges for more precision, but paper works excellently for most.
- Clean Print Surface: Ensure your print bed is free of dust, old filament residue, grease, and fingerprints. Use isopropyl alcohol or mild soap and water, depending on your bed material (glass, PEI, etc.).
- Clean Nozzle: Remove any melted filament blobs from the nozzle tip. A dirty nozzle can interfere with accurate measurements.
- Printer Cooled Down: For manual leveling, it’s generally best to level with the bed at room temperature, unless your manufacturer specifically recommends preheating for your model. However, for a final check, some users preheat to account for thermal expansion.
- Access to Printer Controls: You’ll need to navigate your printer’s LCD screen or software to home the print head and disable steppers.
Understanding Your Printer’s Leveling System
There are generally three types of bed leveling systems:
Manual Bed Leveling
This is the most common method, especially for entry-level FDM printers like many Creality or Anet models. You manually adjust screws or knobs beneath the print bed, often at 3 or 4 points, using a piece of paper as a guide. This guide will primarily focus on this method.
Assisted Manual Leveling
Some printers, even without a full auto-leveling sensor, have firmware that guides you. The printer moves the nozzle to each leveling point, and you manually adjust the bed knobs. This is essentially manual leveling with automated nozzle positioning.
Automatic Bed Leveling (ABL)
Printers equipped with sensors like BLTouch, CRTouch, or inductive/capacitive sensors can automatically probe the print bed at multiple points, creating a mesh map of its surface. This compensates for minor inconsistencies. While ABL greatly simplifies things, it often works best when the bed is already reasonably flat and level manually. Even with ABL, you might still perform a basic manual level initially.
Step-by-Step Guide: Manual Bed Leveling
Let’s get your printer dialed in!
Step 1: Preheat Your Printer (Optional but Recommended for Accuracy)
While often done cold, some advocate for leveling with the bed preheated to your typical printing temperature (e.g., 60°C for Overture PLA filament). This accounts for any thermal expansion of the bed material. If your bed is glass, this might be less critical, but for aluminum or magnetic beds, it can make a difference. If you preheat, let it stabilize for 5-10 minutes.
Step 2: Clean the Print Bed Thoroughly
A clean surface is crucial for good adhesion. For most beds, a wipe down with isopropyl alcohol (IPA) is sufficient. For stubborn residue, remove the build plate (if possible) and wash with warm water and dish soap, then rinse thoroughly and dry with a lint-free cloth.
Step 3: Home the Nozzle
On your printer’s LCD or control software, select “Auto Home” or “Home All Axes.” This will move the print head and bed to their default starting positions (X0, Y0, Z0).
Step 4: Disable Steppers
After homing, you need to freely move the print head and bed. Look for an option like “Disable Steppers” or “Disable Motors” in your printer’s menu. This unlocks the motors, allowing you to slide the print head and bed by hand. Be gentle when moving them.
Step 5: Position the Nozzle at the First Corner
Gently move the print head so the nozzle is positioned directly over one of the bed’s leveling screws (typically near a corner). Slide your piece of paper between the nozzle and the print bed.
Step 6: Adjust the Bed (Paper Test Method)
Now, adjust the bed leveling knob directly underneath that corner. Turn the knob slowly, either clockwise or counter-clockwise, until you feel a slight drag on the paper when you slide it back and forth. You want just enough resistance that the paper moves but doesn’t slide too freely, nor is it so tight that you can’t move it at all. It’s often described as feeling like the paper is “grabbing” the nozzle.
Step 7: Repeat for All Corners
Move the nozzle to the next leveling screw and repeat Step 6. Continue this process for all remaining corners (3 or 4 points, depending on your printer). After adjusting all points once, it’s crucial to go back and check each corner again. Adjusting one corner can sometimes affect the others slightly. You might need to cycle through the corners two or three times until all points feel consistent with the paper test.
Step 8: Perform a Final Check (Center and Corners)
Once you’re satisfied with the corners, manually move the nozzle to the very center of the print bed and check the paper drag there. If it feels significantly different, you might have a slightly warped bed (see troubleshooting). If it’s only slightly off, you might try a very small adjustment evenly across all corners or rely on software compensation if available.
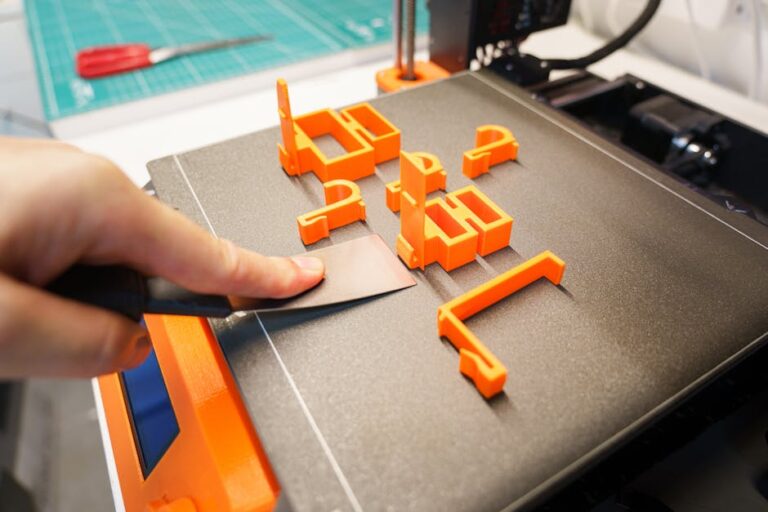
Step 9: Run a Test Print
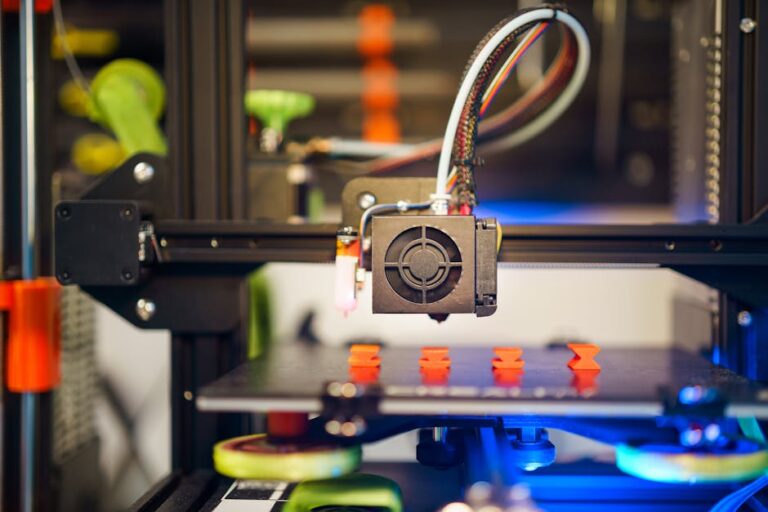
The best way to confirm your leveling is with a test print. Many slicers offer bed leveling test files, or you can simply print a large, single-layer square or several small squares placed in the corners and center. Observe the first layer:
- Too Close: The line will be very thin, possibly translucent, and you might hear the nozzle dragging.
- Too Far: The line will be round, inconsistent, and won’t stick well to the bed.
- Just Right: The line will be slightly squished, opaque, adhere firmly, and have a smooth, even appearance.
Adjust your Z-offset (if your printer supports it) slightly during this first layer if you need minor tweaks without re-leveling the whole bed. Many printers, like the Creality Ender-3 V3, offer real-time Z-offset adjustment.
Troubleshooting Common Leveling Issues
- Consistently Off in One Spot: Re-check that specific corner multiple times.
- Nozzle Still Too Close/Far After Leveling: Your Z-offset might be incorrect. Adjust this setting in your printer’s firmware or slicer.
- Warped Bed: If your bed is physically warped (common with thinner aluminum beds), manual leveling can only do so much. Consider upgrading to a glass bed, a textured PEI sheet, or installing an ABL sensor to compensate.
- Springs Too Loose/Tight: Ensure your bed springs have some tension but aren’t fully compressed. Upgrading to stiffer springs or silicone spacers can improve stability.
Advanced Tips for Consistency
To maintain a perfectly leveled bed and minimize future re-leveling:
- Check Regularly: Make it a habit to do a quick paper test before critical prints or every few printing sessions, especially if you move your printer.
- Firm Bed Mounts: Ensure your bed is securely mounted and that the leveling nuts don’t loosen over time. Use lock nuts if available, or stiffer bed springs.
- Consider an ABL Sensor: While manual leveling is foundational, a sensor like a BLTouch or CRTouch can make life much easier by compensating for minor bed imperfections, ensuring a perfect first layer every time.
With a little practice, bed leveling will become second nature, and you’ll quickly identify the perfect “feel” for optimal first-layer adhesion. This fundamental skill will unlock a world of more reliable and higher-quality prints. Ready to upgrade your printing setup? Check out our top recommended 3D printer picks and more filament options like Hatchbox PLA filament to get the best out of your leveled bed. For more tips, tricks, and reviews, be sure to explore 3dshopper.com, your ultimate resource for all things 3D printing!
Ready to find your perfect 3D printer? Browse our complete guide to the best 3D printers — updated right now with expert picks at every budget.
Shop top-rated 3D printers on Amazon: Bambu Lab A1 | Creality Ender 3 | Prusa MK4