Mastering TPU: Tips for Printing Soft and Flexible Models
Introduction
If you have a 3D printer and are used to the relative predictability of PLA, trying a flexible filament like TPU can feel like learning a new machine. The first time you try to print something soft, you might end up with a tangle of spaghetti, a jammed extruder, or a print that looks like it got left in the sun. It’s easy to get frustrated.
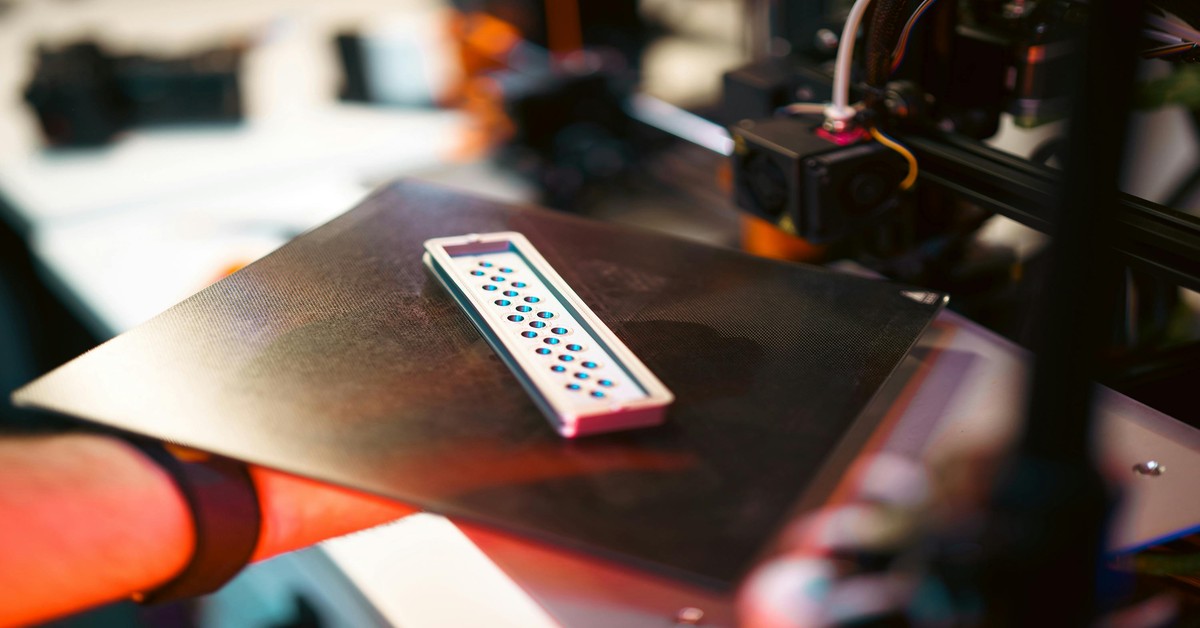
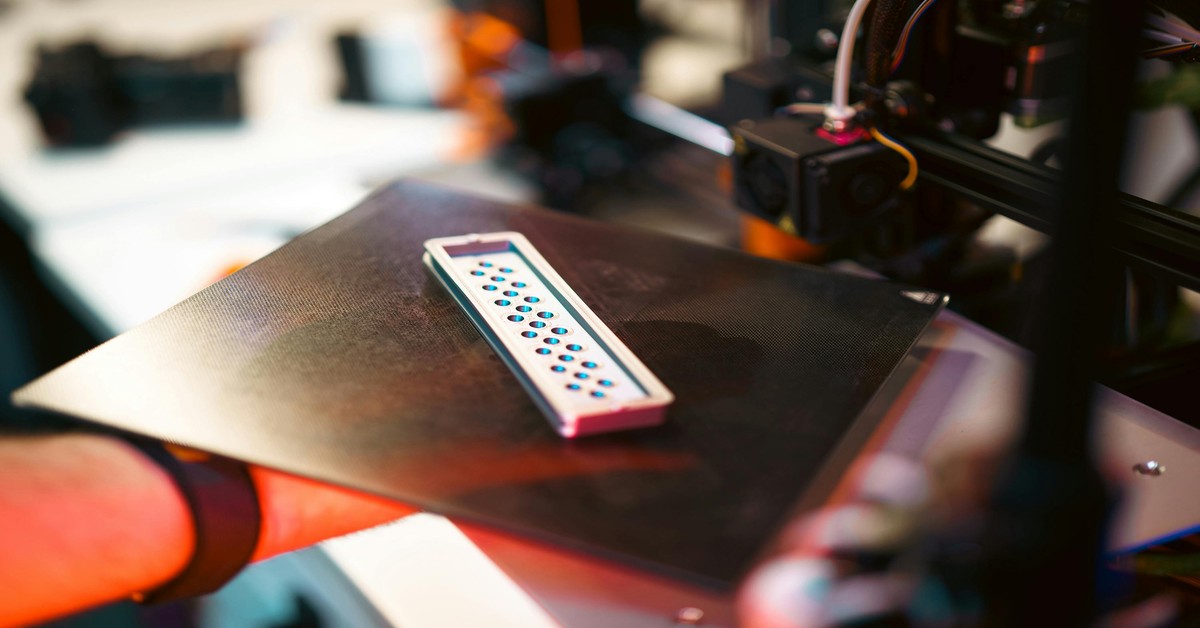
I’ve been through all of that myself—hours dialing in settings, swapping nozzles, and taking apart hotends to clear jams. This isn’t just theory; it’s practical, hands-on advice for how to print TPU filament without pulling your hair out. We’ll cover the essential printer setup, critical slicer settings, and common mistakes that trip up almost everyone. Whether you’re working on a phone case, a gasket, or a wearable, this guide should get you from struggling to success.. For more on this, see our guide on Best Conductive Filament: Top Picks for 3D Printing Electronics.
What Is TPU and Why Print With It?
TPU stands for thermoplastic polyurethane. It’s a flexible filament that falls under the category of elastomers. The most important spec to understand is Shore hardness. A lower Shore hardness means a softer, more rubbery material (like 85A or 95A). A higher number means it’s still flexible but has more rigidity. Most consumer TPU is around 95A, which is a good balance for general use.
Why would you pick TPU over PLA? The short answer is for parts that need to bend, absorb shock, or grip. Think about a protective phone case — PLA would crack, while TPU absorbs impact and flexes around the phone. For a custom gasket on a project box, a rigid filament won’t seal properly, but TPU conforms to the surface. Wearable bracelets or strap buckles? TPU is comfortable against the skin. It’s genuinely useful for functional parts that need to survive real handling.
That said, it’s important to set realistic expectations. PLA is forgiving — you can print it at a wide range of temperatures and speeds and still get decent results. TPU is not like that. It’s stringy, jams easily, and loves to absorb moisture from the air. Moving from PLA to TPU feels like a step up in difficulty. But once you understand the specific constraints, it’s completely manageable.
Critical Printer Setup for TPU Success
Before you even slice a file, take a look at your printer. The most common reason people fail with TPU is the extruder setup. Let’s talk about that first.
The Extruder: Direct Drive vs. Bowden
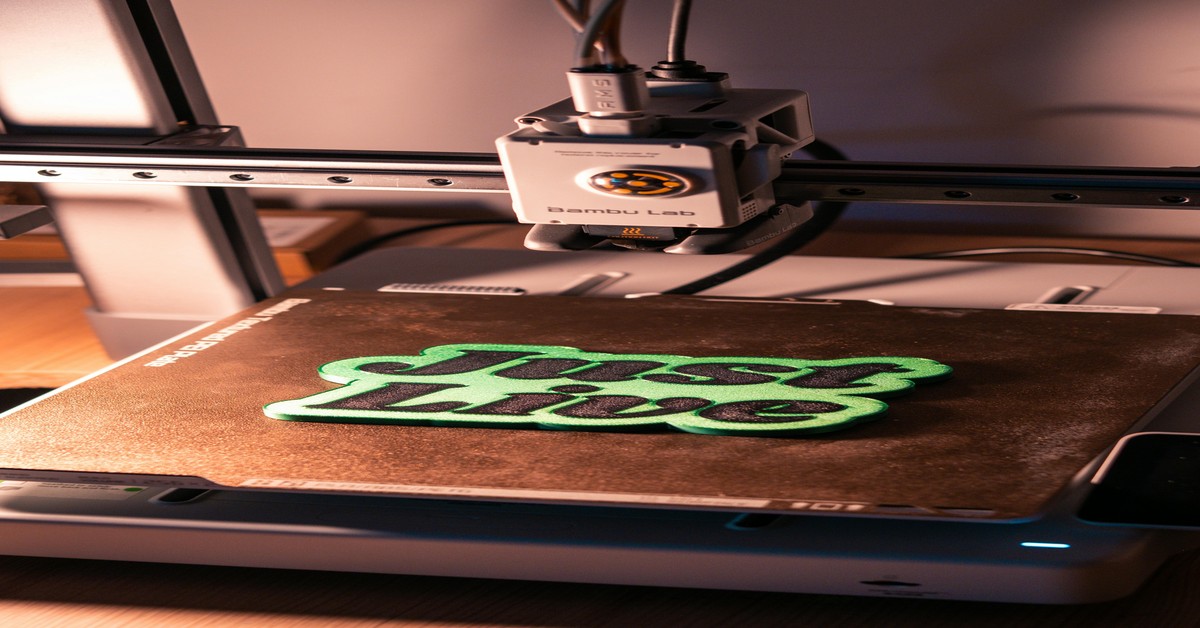
This is the biggest variable. A direct-drive extruder (where the motor is mounted directly above the hotend) has a very short path for the filament, which means less bending and less friction. It’s significantly easier to print flexible material on a direct drive setup. If you have a printer like a Prusa MK3 or a Bambu Lab model, you’re in good shape.
If you have a Bowden setup (like an Ender 3 with a stock extruder on the frame), things get trickier. The long PTFE tube creates resistance, and the filament can buckle and kink inside the tubing, leading to jams. There are two practical solutions. First, reduce your retraction distance significantly (sometimes all the way to zero). Long retractions in a Bowden tube will grind the soft filament. Second, look into a simple modification like a filament guide that creates a straighter path from the spool to the extruder. Some people swap to a direct-drive conversion kit. It’s a worthwhile upgrade if you plan to print a lot of flexible material.
Bed Preparation and Enclosure
TPU doesn’t usually need a heated enclosure, but a stable bed temperature is important. Set your bed to 40-60°C. A glass bed with a layer of glue stick works well for adhesion without sticking so hard that you damage the part. A textured PEI sheet is also a great option for the same reason. Avoid bare glass or smooth PEI, as TPU can adhere aggressively and actually peel the coating off your bed.
Leveling matters more than ever. TPU requires a very consistent first layer. If your nozzle is too close, it will push the soft material aside, causing a mess. If it’s too far, the first layer won’t stick. Take your time with manual leveling or ensure your auto-leveling probe is properly calibrated.
Dialing In Your Temperature and Speed Settings
Once your hardware is sorted, it’s time to open your slicer. This is where most of the tuning happens. Here are the baseline numbers:
- Nozzle Temperature: 220-250°C. Start at the low end for a standard 95A TPU and adjust up if you see under-extrusion or poor layer adhesion.
- Bed Temperature: 40-60°C. Warmer helps adhesion on glass but can make removal harder on some beds.
- Print Speed: 20-40 mm/s. Slower is better. Don’t try to print flexible material at your normal PLA speed.
- Retraction: Disable it or set it very low (0.5mm on direct drive, 1-2mm on Bowden). High retraction causes jams.
Troubleshooting Common Temperature and Speed Issues
| Issue | Likely Cause | Fix |
|---|---|---|
| Stringing / Oozing | Retraction too low or temperature too high | First, lower temperature by 5°C. Then, increase retraction slightly (0.5mm at a time). |
| Under-extrusion / Gaps | Temperature too low or print speed too fast | Raise nozzle temperature by 5°C. Reduce speed to 25 mm/s. |
| Blobs on surface | Retraction too high or temperature too high | Reduce retraction distance. Lower temperature by 5°C. |
| Weak layer adhesion | Too much cooling or temperature too low | Reduce fan speed to 30-50%. Raise nozzle temperature. |
| Filament jams in extruder | Retraction too high, or print speed too fast | Disable retraction completely. Slow down to 20 mm/s. |
Adhesion Strategies for Flexible Parts
Bed adhesion with TPU has a unique problem. It either doesn’t stick at all, or it sticks so well that you damage the print or the bed when removing it. The goal is a middle ground.
For a glass bed, a thin layer of standard purple glue stick is my go-to. Apply it before heating the bed, then let it dry for a few minutes. It creates a tacky surface that holds the first layer well. For a PEI sheet, a light application of glue stick or hairspray can also help. Avoid using bare PEI with very soft TPU (below 90A) because it can bond too aggressively.
First layer height is critical. Use a first layer height of about 0.24mm for a 0.4mm nozzle. You want a slight squish, but not so much that the filament is forced out sideways. Cooling fan settings also play a role. For the first layer, keep the fan off. For the rest of the print, a low fan speed (20-40%) helps with bridging and overhangs, but too much cooling will cause poor layer adhesion and warping.
If you find that corners are lifting, use a brim. A 5mm brim with 0 separation distance is usually enough to hold down a small part. The brim will peel off easily with TPU without affecting the main print’s finish.
Common Mistakes Beginners Make (And How to Avoid Them)
Knowing what can go wrong is half the battle. Here are the most common errors I’ve seen and made myself.
Mistake 1: Using High Retraction
This is the number one cause of jams. Because TPU is soft, a long retraction pull can stretch the filament inside the nozzle and create a plug. The fix is simple: disable retraction entirely or set it to a minimum (0.5mm). You’ll get occasional stringing, but it’s much easier to clean up stringing than it is to clear a jam.
Mistake 2: Printing Too Fast
TPU doesn’t like high volumetric flow. At speeds above 40 mm/s, the extruder can’t push the flexible filament fast enough, leading to under-extrusion and layers that look like Swiss cheese. Stick to 20-30 mm/s for your first few prints.
Mistake 3: Wrong Bed Temperature
A bed that is too cold (room temperature) will cause warping. A bed that is too hot (80°C+) can cause the print to become soft and droopy, especially on overhangs. Stay in the 40-60°C range.. For more on this, see our guide on The Best PETG Filament for Strong and Weather-Resistant Parts.
Mistake 4: Ignoring Moisture
TPU is hygroscopic. It absorbs moisture from the air aggressively. Wet TPU prints with a stringy, bubbly surface and has poor layer adhesion. If your filament has been sitting out for a few days, dry it. A food dehydrator at 55°C for 4-6 hours works perfectly. A dedicated filament dryer is also a good investment.
Mistake 5: Improper Cooling
Too much cooling causes weak layers. Too little cooling causes droopy bridges and overhangs. The sweet spot for most TPU is a fan speed of 30-40% after the first layer. Adjust from there based on your specific model geometry.
Mistake 6: Ignoring First Layer Calibration
A bad first layer with TPU is a nightmare. It will either curl up and fail to stick, or it will squirt out in blobs. I recommend printing a simple calibration square (like a 20mm x 20mm single layer) first to dial in your Z-offset and first layer flow rate.
Best TPU Filaments for Different Projects
Not all TPU is the same. The brand and hardness rating will change your printing experience and the part’s performance. Here’s a practical comparison based on real-world use.
| Filament | Shore Hardness | Ease of Printing | Best For | Considerations |
|---|---|---|---|---|
| NinjaFlex | 85A | Moderate | Wearables, hinges, very flexible parts | Very soft. Needs direct drive. Slower speeds. More expensive. |
| SainSmart TPU | 95A | Good | Phone cases, gaskets, general functional parts | Good balance of flexibility and printability. Works on Bowden with care. |
| eSun eTPU-95A | 95A | Very Good | Phone cases, RC car parts, buffers | Very consistent diameter. Less stringy than some others. Great starter TPU. |
| Overture TPU | 95A | Very Good | General purpose, beginner friendly | Slightly stiffer feel. Good price. Prints well at moderate speeds. |
For a beginner, starting with a 95A shore hardness filament like eSun eTPU or Overture TPU is the smartest move. They’re forgiving enough to learn on while still being functional. If you want a very soft, rubbery finish for a specific wearable project, NinjaFlex is excellent but requires more patience and a direct drive extruder.
Post-Processing and Finishing TPU Prints
TPU isn’t like PLA when it comes to finishing. Sanding is difficult because the material is rubbery — you’ll get a fuzzy, uneven surface rather than a smooth one. If you need a smooth finish, consider printing with a smaller layer height (0.12mm) from the start. Painting is possible, but you need a flexible primer first. Regular spray paint will crack when the part bends. Look for primers made for flexible materials, often labeled as “flex” or “elastomeric” primers.
Support removal can be tricky. Because TPU is flexible, supports can be hard to snap off cleanly. Use supports with a low support interface density (e.g., 10-20%). You can often peel them away by hand without tools. For assembly, standard superglue (cyanoacrylate) works very well for bonding TPU parts together. It creates a strong, flexible bond. Avoid epoxy, as it can remain brittle and crack.
When Not to Use TPU
TPU is fantastic for certain applications, but it’s not a universal solution. Knowing its limits will save you from failed parts.
High-wear parts. TPU isn’t great for gears or bearings under constant load or high friction. It will deform and wear quickly. For those applications, PETG or nylon is a better choice. Very fine details. If you are printing a miniature or a part with tiny, sharp features, TPU is not ideal. The flexibility makes the features soft and undefined. PLA is much better for detail. Food contact. Most standard TPU filaments are not food-safe. The additives and colorants can leach into food. If you need a flexible food-safe container, you need a specifically certified TPU, and that is rare and expensive. Structural strength. TPU is strong in terms of impact resistance, but it has low tensile strength. A part that needs to hold a heavy static load without bending is better suited to PETG or nylon. In short, use TPU for its flexibility, not for its strength or durability under constant force. This distinction is what separates a successful print from a failed project.
Frequently Asked Questions About TPU Printing
Can I print TPU without a direct-drive extruder?
Yes, but it’s harder. You need to reduce retraction to nearly zero, slow down to 20-25 mm/s, and make sure your Bowden tube has minimal friction. It’s doable, but expect more stringing and a higher chance of jams. A direct drive setup is a much better experience.
Why does my TPU keep clogging the nozzle?
The most common cause is excessive retraction. The rubbery filament stretches inside the extruder and forms a plug. Turn off retraction or set it to a very low value (0.5mm). Another cause is printing too fast, causing the filament to buckle in the heat break. Slow down.
How do I dry TPU filament?
Place the spool in a food dehydrator at 55°C (130°F) for 4 to 6 hours. A dedicated filament dryer works as well. Don’t use a kitchen oven, as temperatures are often inconsistent and can melt the filament. Dry your TPU before every long print if you live in a humid area.
What bed surface is best for TPU?
A textured PEI sheet with a light layer of glue stick, or a glass bed with glue stick. Avoid bare PEI as TPU can bond permanently. BuildTak-like surfaces can work but often require glue stick as well.
Can I print TPU on a bed slinger (like an Ender 3)?
Yes. The main challenge is the Bowden extruder. If you’re patient and use the settings described in this article (slow speed, low retraction), it works. An upgraded direct-drive extruder is a worthwhile investment if you print TPU regularly.
Is TPU toxic to print?
TPU is generally considered safe to print indoors because it doesn’t emit significant VOCs like ABS. However, it can still produce some fumes. It’s always a good idea to print in a well-ventilated area.
Ready to Print Flexible Parts?
Moving from rigid PLA to flexible TPU requires a different approach. You have to slow down, reduce retraction, and pay close attention to your first layer. But once you dial it in, the parts you can create are incredibly useful. Custom bumpers, vibration dampeners, flexible enclosures, and grips become easy to make.
The best way to start is to pick a simple test print, like a calibration cube or a small flexible ring, and dial in your settings from there. You’ll learn more from one failed print than from reading ten theory articles. Ready to get started? Find your TPU filament and accessories here.. For more on this, see our guide on Filament Storage Solutions: DIY Dry Box vs Professional Systems Compared.