How to Post-process 3d Prints — Sanding, Painting, Finishing
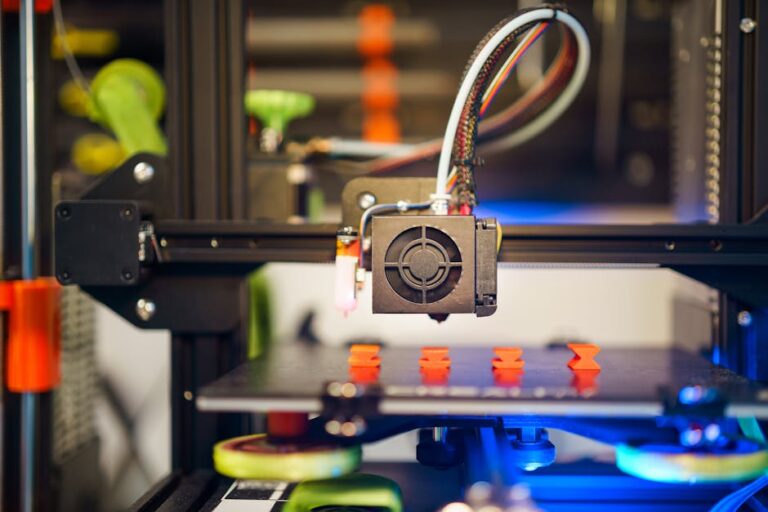
You’ve spent hours designing, slicing, and finally printing your 3D masterpiece. But often, pulling a print off the build plate is just the beginning of its journey. To transform a raw, layer-lined object into a smooth, professional-looking finished product, post-processing is key. Whether you’re aiming for a pristine display piece, a durable functional part, or a vibrant painted model, understanding how to post-process 3D prints — through sanding, painting, and various finishing techniques — will elevate your creations to the next level. This comprehensive guide will walk you through the essential steps and tools to achieve stunning results. Check out our best 3D printers guide.
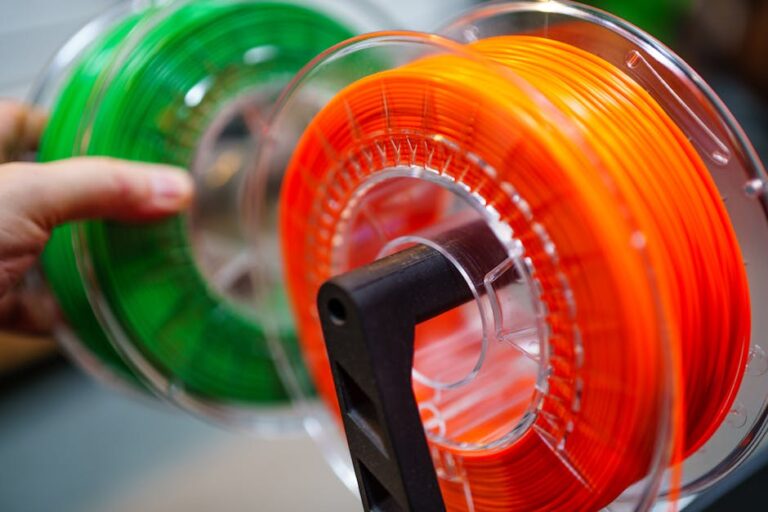
Understanding Your Print Material
Before diving in, it’s crucial to consider the material you’ve printed with, as different filaments and resins react differently to post-processing:
- PLA (Polylactic Acid): The most common and easiest to work with. PLA sands well and accepts most primers and paints without issue.
- PETG (Polyethylene Terephthalate Glycol): More durable than PLA, but also tougher to sand due to its slightly rubbery texture. It generally takes paint well.
- ABS (Acrylonitrile Butadiene Styrene): Known for its ability to be smoothed with acetone vapor, which melts the outer layers for a glass-like finish. It also sands and paints well.
- Resin (SLA/DLP/LCD): Requires careful cleaning (usually with isopropyl alcohol) and UV curing before any sanding or painting. Once cured, it can be sanded and painted much like plastic.
Essential Tools for Post-Processing
Having the right tools makes all the difference. Here’s a list of common items you’ll need:
- Cutting Tools: Flush cutters, an X-Acto knife, or a deburring tool for support removal.
- Sanding Supplies: A variety of sandpaper grits (150-2000), sanding blocks, and possibly a rotary tool like a Dremel with sanding attachments.
- Cleaning Supplies: Isopropyl alcohol (for resin prints), soap and water, soft brushes, microfiber cloths.
- Fillers: Bondo spot putty, wood filler, or specialized 3D print fillers for gaps and layer lines.
- Primers: Sandable filler primer (spray or brush-on).
- Paints: Acrylic paints, spray paints, airbrush paints – chosen based on your desired finish and material compatibility.
- Clear Coats/Sealants: Matte, satin, or gloss clear coats for protection.
- Safety Gear: Respirator mask, safety glasses, gloves.
Step 1: Cleaning and Preparing Your Print
Removing Supports and Rafts
The first step is always to clean your print of any remaining support structures, rafts, or brims. Use flush cutters or an X-Acto knife to carefully snip or scrape away these elements. Be cautious around delicate features to avoid accidental damage. For intricate areas, a deburring tool can be very helpful.
Initial Cleaning
For FDM prints (PLA, PETG, ABS), a quick wash with mild soap and water can remove any residue or dust. For resin prints, it’s critical to submerge the print in isopropyl alcohol (IPA) and scrub it with a soft brush to remove uncured resin. After cleaning, fully cure your resin print under a UV light or in direct sunlight before proceeding.
Step 2: Smoothing and Sanding
The Art of Sanding
This is where layer lines disappear. Start with a lower grit sandpaper (e.g., 150-220) to remove prominent layer lines and larger imperfections. Always sand in a consistent direction and apply even pressure. Gradually move to higher grits (400, 600, 800, 1000, 2000) to achieve an increasingly smooth surface. Wet sanding (using water) can help reduce dust and achieve a finer finish, especially with higher grits. For hard-to-reach areas or small details, use small files or a rotary tool with appropriate attachments. We recommend a good quality 3D print sanding kit for best results.
Filling Gaps and Blemishes
Even after sanding, some prints might have deeper gaps, print errors, or stubborn layer lines. This is where fillers come in handy. Apply a thin layer of Bondo, wood filler, or a specialized 3D print filler to the affected areas. Once dry, sand the filled areas smooth, blending them seamlessly with the surrounding surface. Repeat this process if necessary until the surface is uniform.
Step 3: Priming Your 3D Print
Why Prime?
Priming is a crucial step that prepares your print for painting. A good primer:
- Improves Paint Adhesion: Provides a surface that paint can easily grip onto.
- Reveals Imperfections: A uniform coat of primer makes any remaining layer lines, scratches, or imperfections pop out, allowing for further sanding or filling.
- Creates a Uniform Base: Ensures your topcoat colors appear true and vibrant, without being affected by the base color of the filament.
Choosing a Primer
Look for a sandable filler primer, which helps to further fill in minor imperfections. Spray primers are popular for their even application. Apply several thin, even coats rather than one thick coat, allowing each layer to dry completely according to the manufacturer’s instructions. You can lightly sand the primer with a very fine grit (e.g., 800-1000) between coats for an ultra-smooth finish.
Step 4: Painting Your Masterpiece
Choosing Your Paint
Once primed, your print is ready for color! Most acrylic paints work well on 3D prints. For larger areas or a uniform finish, spray paints or an airbrush can provide excellent results. For fine details, artist’s acrylics applied with brushes are ideal. Always ensure your chosen paint is compatible with your primer and print material. A durable filament like Hatchbox PLA filament often provides an excellent base for painting.
Painting Techniques
The key to a professional paint job is patience and thin coats. Apply multiple thin layers of paint, allowing each to dry thoroughly before adding the next. This prevents drips, uneven coverage, and loss of detail. If you’re painting multiple colors, use painter’s tape or liquid masking fluid to protect areas you don’t want painted. Experiment with different brush types, sponges, or airbrush settings to achieve various textures and effects.
Step 5: Finishing and Protecting Your Print
Clear Coats and Sealants
The final step is to protect your hard work with a clear coat or sealant. This adds durability, prevents scratches, and can alter the final sheen of your print. You can choose from:
- Matte: For a non-reflective, understated look.
- Satin: A subtle sheen, often used for a natural, less “plasticky” feel.
- Gloss: For a shiny, reflective finish that makes colors pop.
Many clear coats also offer UV protection, which is essential if your print will be exposed to sunlight, preventing colors from fading and certain materials (like resin) from degrading over time. Apply clear coats in thin, even layers, just like your paint.
Other Finishing Touches
Beyond painting, there are other advanced finishing techniques:
- Weathering: Adding effects like rust, dirt, or battle damage for realistic models.
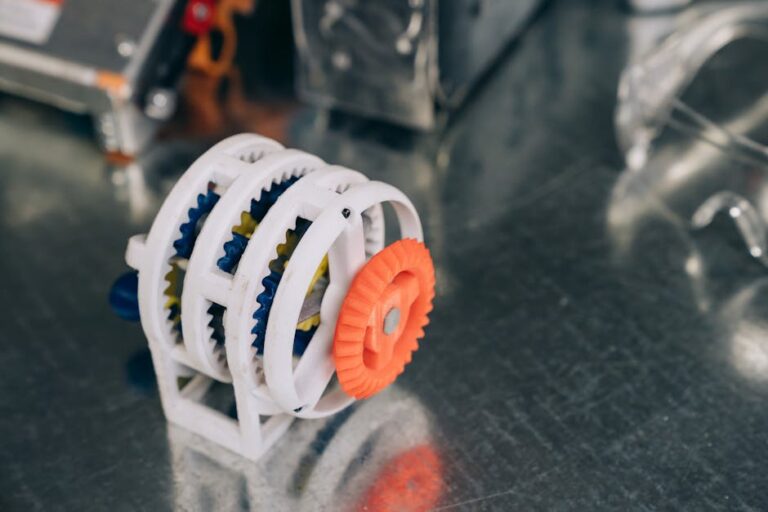
- Polishing: For unpainted prints, especially those made with transparent materials, fine sanding followed by polishing compounds can achieve a crystal-clear, smooth finish.
- Vapor Smoothing (ABS): As mentioned, acetone vapor smoothing can give ABS prints an incredibly smooth, glossy finish without sanding or painting.
Conclusion
Post-processing 3D prints is an art form that transforms ordinary prints into extraordinary creations. From meticulous sanding to vibrant painting and protective finishing, each step plays a vital role in achieving a professional-grade result. Don’t be afraid to experiment with different techniques and materials – practice makes perfect, and the satisfaction of holding a beautifully finished print is truly rewarding.
Ready to upgrade your 3D printing setup or find the perfect filament for your next project? Browse our extensive selection of our top recommended 3D printer picks and accessories at 3dshopper.com, your one-stop shop for all things 3D printing!
Ready to find your perfect 3D printer? Browse our complete guide to the best 3D printers — updated right now with expert picks at every budget.
Shop top-rated 3D printers on Amazon: Bambu Lab A1 | Creality Ender 3 | Prusa MK4